Showing posts with label biscuit. Show all posts

Saturday, August 10, 2013

Lemon Cream Biscuits and Relay For Life


So I made these a while ago and just haven't gotten around to posting them. They were super yummy if you like lemony things. But more importantly I wanted to let people who read this know that I am participating in Relay For Life this year and am currently fundraising! Here is a link to my fundraising page if any one wanted to donate. It is a really good cause and the relay itself should be a whole lot of fun. I will probably make some tasty treats to keep us going through the night! Any contributions would be greatly appreciated but if you can't donate, even a tweet or post on your twitter or Facebook to this page and link would be super appreciated :) Thanks!


Lemon Cream Biscuits

Recipe adapted from Taste.com

What you will need


250g butter, room temp
1/3 cup icing sugar, sifted
1 tsp vanilla essence
1 3/4 cups plain flour
50g cornflour

60g butter, room temp
2/3 cup icing sugar, sifter
1 tbsp lemon juice

2 tbsp lemon juice
extra icing sugar, sifted

What you will need to do


Preheat oven to 160*C and line a baking tray with baking paper. Beat the butter, icing sugar and vanilla until pale and creamy. Sift the flour and cornflour into the butter mix and beat until just combined. Roll spoonfuls of mixture into balls and place on baking tray leaving a few centimetres between each. Flatten slightly with a fork then bake for 15 minutes or until cooked (they should only slightly brown on the bottom). Let cool on trays then transfer to a wire rack.

To make the filling, cream the butter, icing sugar and lemon juice until smooth and creamy. Pipe or spread filling on half of the biscuits then sandwich together with remaining biscuits.

To make the lemon glaze, mix a little icing sugar into the lemon juice until a smooth but runny consistency is reached. Brush glaze over the tops of the biscuits with a pastry brush. Place in fridge to set.


Sunday, February 3, 2013

Salted Milk and White Chocolate Chip Biscuits


All week I have been getting so excited for our trip to Perth and we are finally here! This city has impressed so far with its beautiful parks and friendly people, they even put on a fabulous fireworks display for Australia Day. In the days leading up to our departure I made about a zillion lists of things to remember to do or pack before we leave and I am proud to say my organisational OCD paid off. I managed to find time to make these deliciously sweet and salty biscuits, with the intention to keep some for the trip, but the reality that they were devoured within a few days.


The wonderful thing about these cookies is that you can really taste the salt but it only brings out the sweetness of the chocolate and makes it so much more delicious. I used to omit the salt from my chocolate chip biscuits out of pure ignorance thinking "why would anyone add such a savoury ingredient to a sweet treat?" I am a lot wiser now (but only slightly less ignorant). Try these biscuits and you will never leave the salt out of a sweet dish ever again!


Salted Milk and White Chocolate Chip Biscuits

(Recipe adapted from the Brown Eyed Baker)

What you will need

2 cups flour minus 2 tbsp
2 tbsp corn flour
1/2 tsp baking soda
1 tbsp salt
170g unsalted butter, melted and cooled until warm
1 cup packed brown sugar
1/2 cup caster sugar
1 large egg plus 1 egg yolk
2 tsp vanilla extract
1 cup milk chocolate chips
200g white chocolate cut into chunks

What you will need to do


Preheat oven to 180*C and line 2 baking trays with baking paper. Sift flours, baking soda and salt into a bowl and set aside. Beat together melted butter and sugars. Add eggs and beat until creamy. Add vanilla and flours and beat until just combined. Stir in chocolate. Take out dough and place on a large piece of plastic wrap. Wrap dough up in a log shape and place in freezer to firm up.

Once firm, remove from freezer and slice into biscuits about 2cm thick. Place on trays and bake for about 15 minutes or until slightly browned on the edges. Remove from oven and cool on trays.


Saturday, December 15, 2012

Chocolate Sugar Cookies with Cappuccino Filling


Christmas is sooooo close and I am super excited!! I've been baking like a mad woman and still have plenty more to make. A lot of the cooking won't make it to christmas, I'm a believer in celebrating Christmas all month or else Christmas day comes and goes way too quickly. So luckily with this yummy recipe I made the dough and put half in the freezer so I can whip some up the day before I head home for Christmas, clever me :) 


These are the most delicious sugar cookies I have ever tasted (well done Sweetapolita!). I put my own twist on them by filling them with a cappuccino flavoured icing which just made them amazing. They set really hard in the fridge so it is best to serve them at room temperature when the filling has softened a bit.


Chocolate Sugar Cookies with Cappuccino Filling

Recipe adapted from Sweetapolita

What you will need

6 cups plain flour
1 1/4 cups cocoa
1 tsp salt
454g butter, softened
2 cups caster sugar
1 cup brown sugar
3 eggs
2 tsp vanilla essence

For Cappuccino Filling
2 cups icing sugar
2 tbsp butter, softened
2 tbsp cappuccino liqueur

What you will need to do 

Place butter and sugars in a bowl and beat until light and creamy. Add eggs one at a time beating well after each addition. Add vanilla essence. Sift in flour, cocoa and salt and mix slowly until combined. Blend until mixture is even and smooth.

Divide mixture into two and place one half on a lightly floured surface. Shape into a disc, wrap in glad wrap and place in the fridge. Repeat with the second half of mixture. Leave in fridge for an hour or so until mixture has firmed up.

Preheat oven to 160*C. Line two baking trays with baking paper and set aside. Take mixture out of fridge, unwrap and place on a floured surface. Using a rolling pin roll dough out to a thickness of about 10 mm. Using a cookie cutter (what ever shape you like) cut out cookies and place them on the lined baking trays. You may need to use a knife or small spatula to lift cookies off bench. To cut holes in the middle of the cookies use a large end of a piping tip (Only cut holes in half of the cookies). It is best to do this once they are already on the tray so they keep their shape better. Cook cookies in oven for about 15 minutes or until they start to crisp up on edges. Take out of oven and leave on trays for a few minutes then transfer to wire rack.

To make the filling, place icing sugar and butter in a bowl and mix on low speed until combined. Add the cappuccino liqueur and beat on high until creamy texture. If mixture is too thick, add more liqueur, if it is too runny add more icing sugar. Place filling into a piping bag and pipe filling onto the biscuits without holes. Sandwich together the biscuits with filling with the biscuits without filling. Store in refrigerator, serve at room temperature.


Wednesday, October 17, 2012

Tim Tam Straws


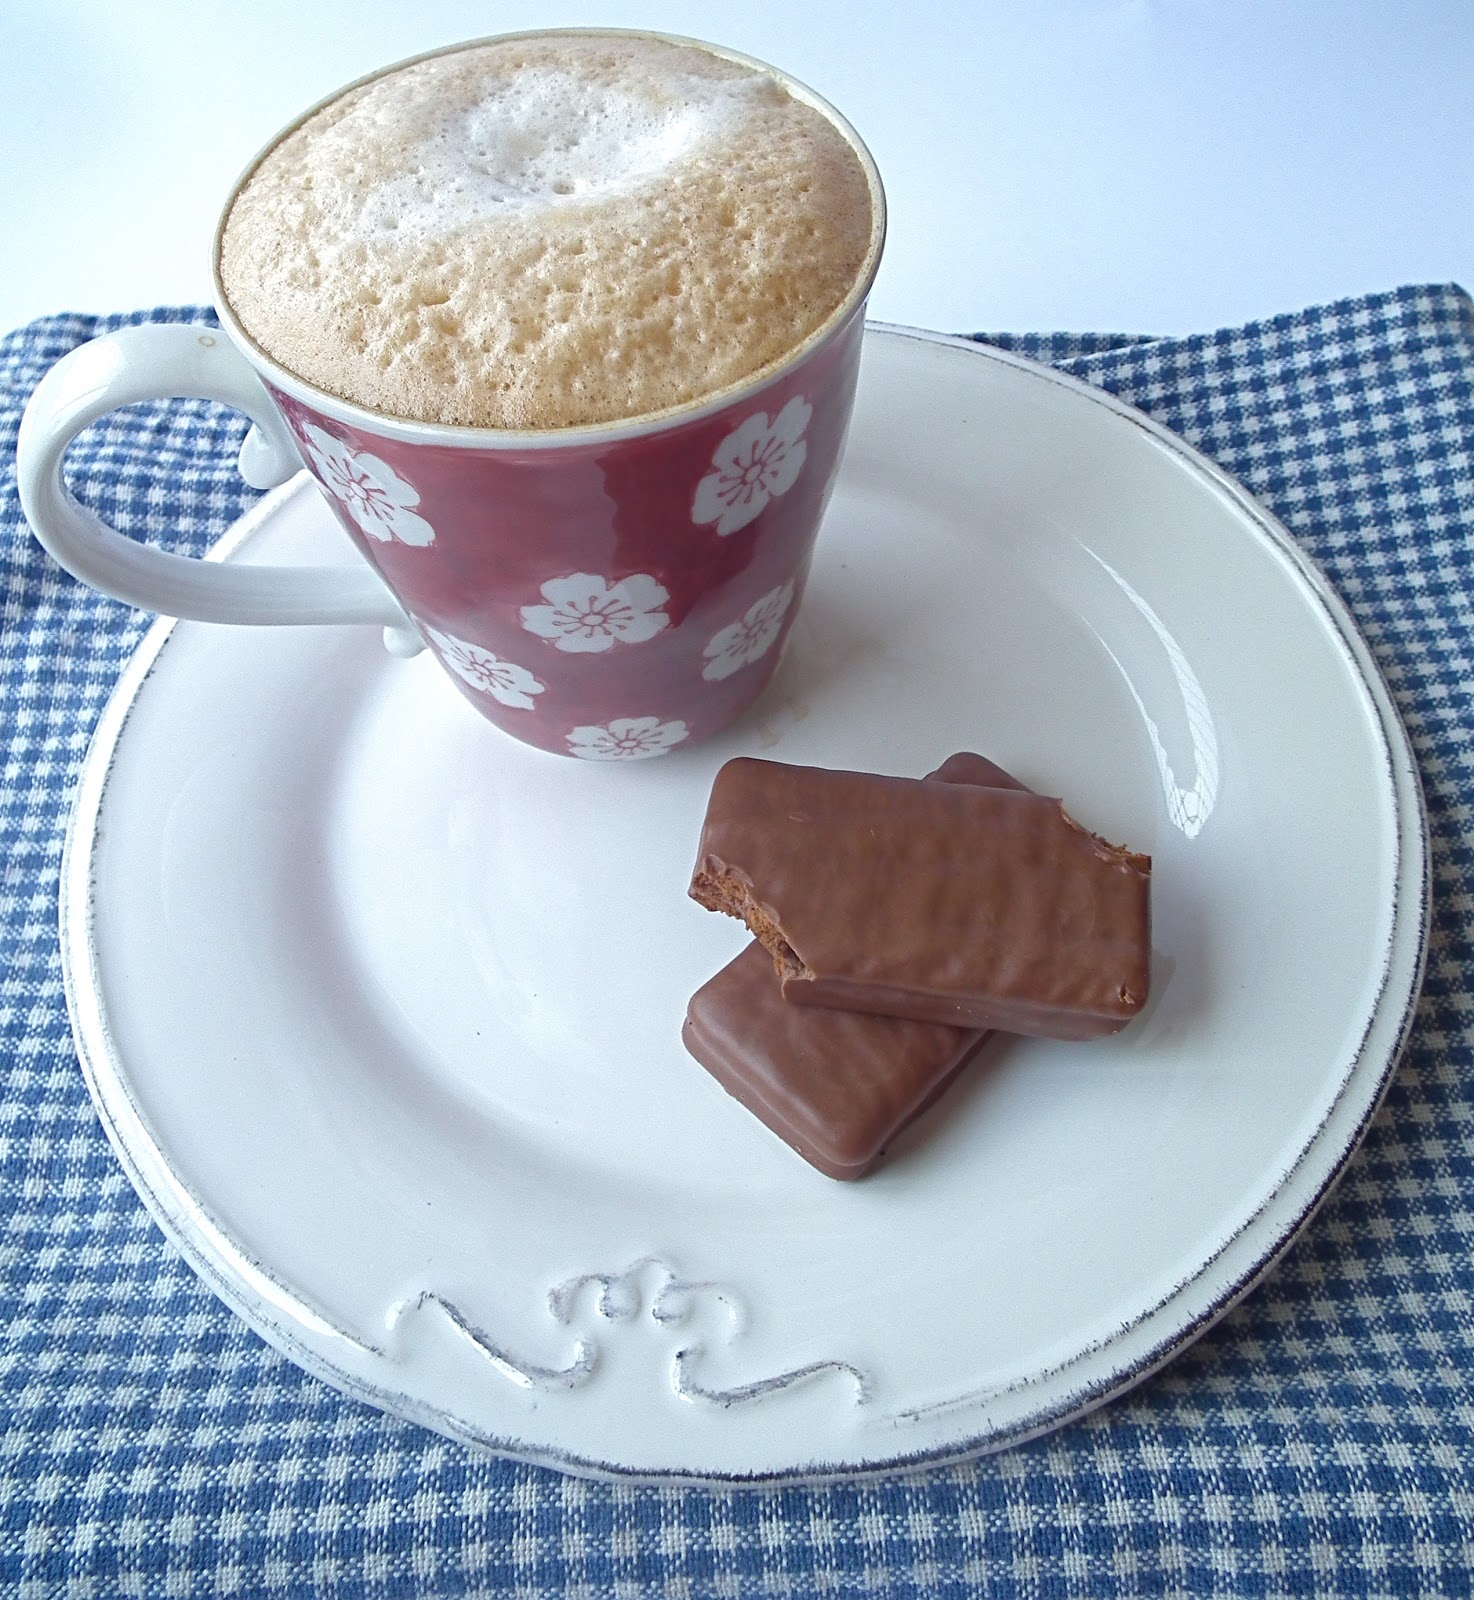
So this isn't exactly a recipe, but Tim Tams were on special at woolies this week and I thought I would share with you my favourite way to enjoy them. TIM TAM STRAWS!! Drinking your coffee through a Tim Tam is super decadent but a little messy (and if you're too slow...smooshy smooshy Tim Tam in the bottom of your coffee).

Simply make a coffee and bite off opposite corners of a Tim Tam.


Put one end into coffee and suck through the corner like a straw! 


Tim Tam will go soft and melty very quickly so stop sucking and eat it quick!


Try stopping at one. I dare you.

Wednesday, September 26, 2012

Double Choc-Chip Cookies


Choc-chip cookies are the best. Double choc-chip cookies are even BETTER. These are the perfect cookie to accompany a cuppa after a long day. I had some left over choc-chips which I melted and dipped some of the cookies into, best idea ever!


I rate Mrs Fields cookies as the most delicious I've ever had, followed by Subway cookies (cooked soft of course). These cookies are more dry and aren't chewy like the previously mentioned cookies, but they are still delicious. They have a crumbly texture and aren't overly sweet, but I find that just makes the choc-chips stand out a lot more.


I have come across many different recipes for choc-chip cookies but when I was growing up my favourite recipe was from the Women's Weekly Biscuit Cookbook. This recipe is from the CadburyKitchen.com.au, adapted ever so slightly by yours truly. Ok I didn't actually adapt the ingredients however I changed the process from placing spoonfuls of mixture onto trays to rolling out the dough and using cookie cutters to cut them out. I like that you get a more uniform shape in the cookies this way.


 Double Choc-Chip Cookies


What you need


125g butter
1/3 cup caster sugar
1/2 cup brown sugar
1 egg
1tsp vanilla essence
1 1/2 cup self raising flour
1/2 cup cocoa
1 cup white choc-chips
1/2 cup white choc-chips extra

What you need to do


Preheat oven to 160*C. Cream butter and sugars in a bowl until light and fluffy. Add egg and vanilla and beat until well combined. Sift in flour and cocoa. Add choc-chips and mix until combined.

Lightly flour your work bench and place dough on it. Lightly flour the dough and roll out to about 2cm thick. If the dough is sticky just add more flour. Using a cookie cutter, cut out as many cookies as you can and place them on baking trays lined with baking paper. With the scraps of dough, mould together and roll out again to cut out more cookies. Repeat this process until there is no more dough left.

Bake cookies for approximately 12-16 minutes. Take out of oven and leave to cool on the tray. Melt the  extra choc-chips in the microwave until smooth. Dip cookies one at a time into the white chocolate to cover half the cookie. Place on a tray lined with baking paper and put into the fridge to set.