Wednesday, October 31, 2012

Mini Cookies and Cream White Chocolate Cheesecake


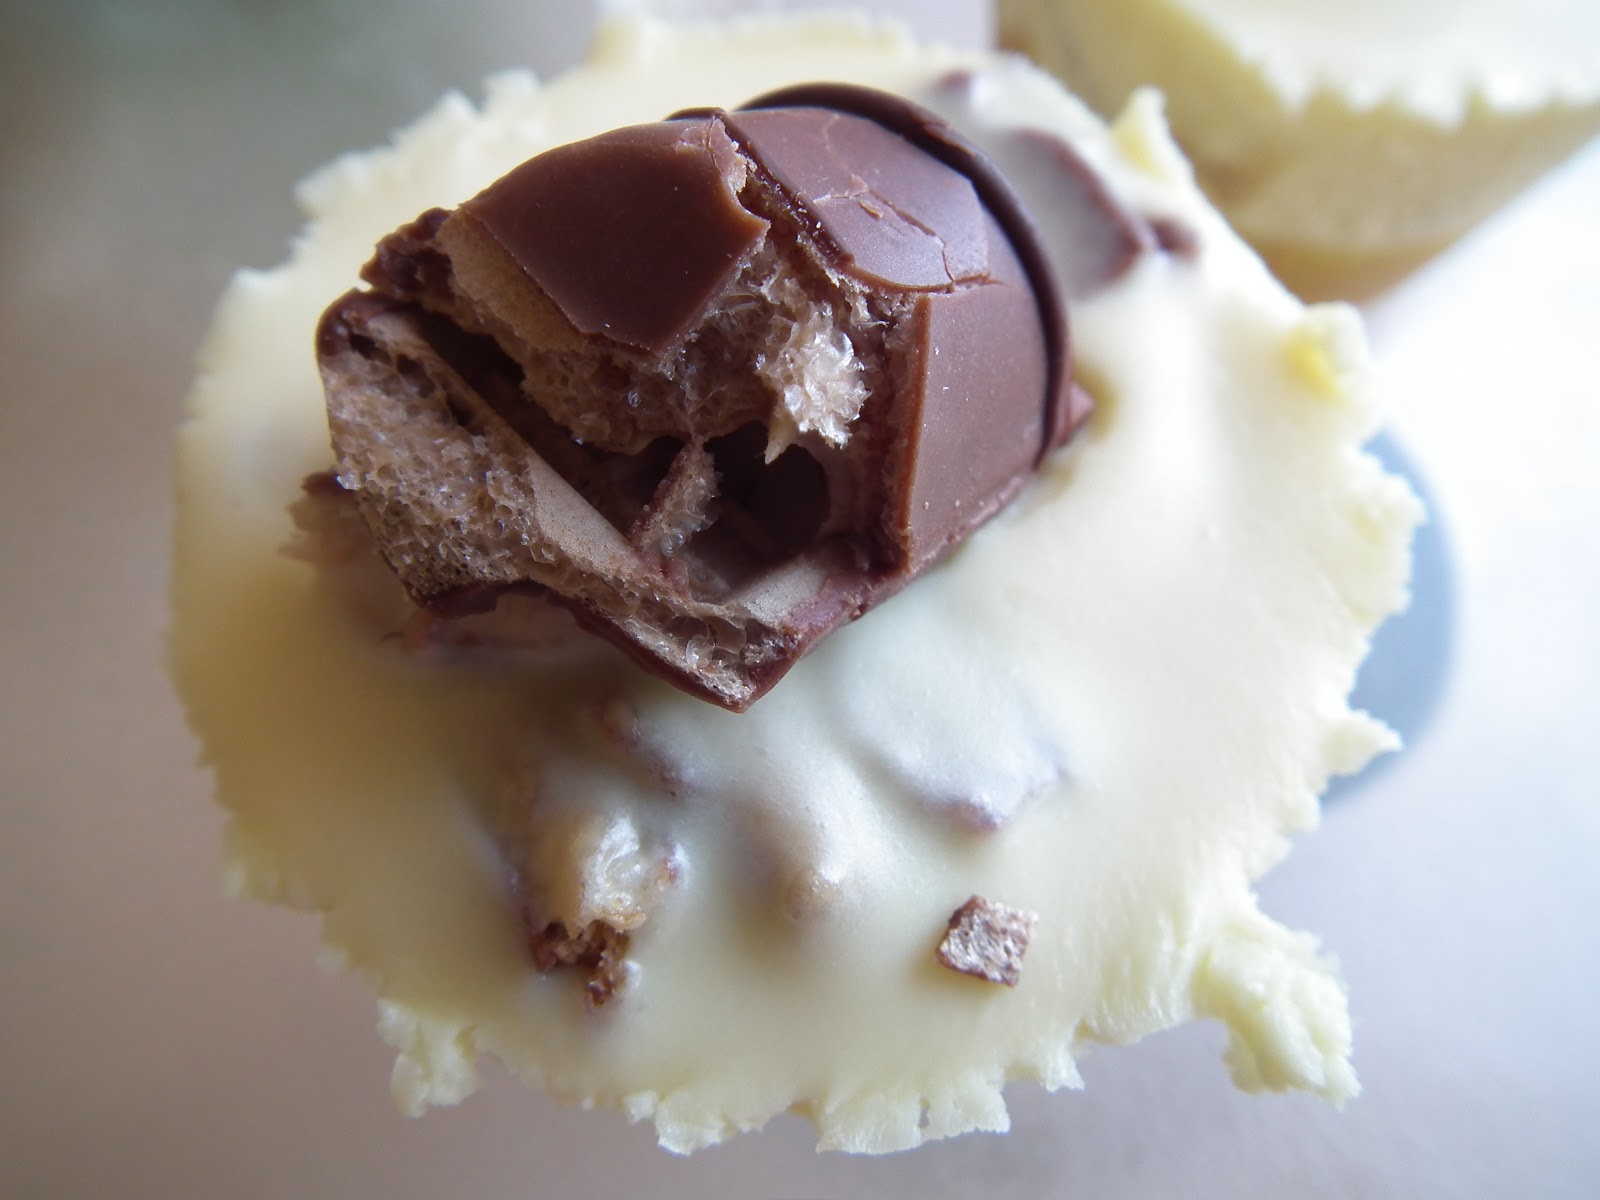
Ok so I saved the best for last, mini cookies and cream cheesecakes! Oreos make for the BEST chocolate cream biscuit to use for cookies and cream, I don't know what it is about them but they are simply the best (better than all the rest!). I decided to try something a little different with the bases this time and used a whole oreo cookie as the base. They fit perfectly into the bottoms of my cupcake tray!


One thing though, the edges of the cookie base went pretty soft after spending time in the fridge :( and some of the bases didn't come out of the tray very well. Next time I make them (and there will be plenty of next times!) I think I will make them in white cupcake papers. That way you wont lose any of the biscuit base when removing them from the tray. 


I found that these tasted better after being in the fridge for a couple of days. The cheesecake really firmed up and the cookie pieces went soft. Surprisingly the biscuit bottom stayed fairly firm, just the edges where there is no cream went soft. BTW how cute do the oreo bases look when cut open like that?? Yummo!!


This recipe also makes a great slice or cake so feel free to change it up. You will probably need to adjust the base but just follow this recipe for a solid oreo base. 


Mini Cookies and Cream White Chocolate Cheesecake


(Recipe adapted from Cookies and Cream Cheesecake from Nestle's Australia's Sweet Baking Favourites)

What you will need

 3 packets oreo biscuits
100g butter, melted
1 tsp gelatine
2 tbsp hot water
190g cream cheese
95ml condensed milk
150ml thickened cream
1/2 cup white chocolate, melted


What you will need to do

For the bases, place an oreo in the bottom of each cup in a silicone cupcake tray.

For the white chocolate cheesecake, place gelatin and hot water in a small bowl and mix until dissolved. In a separate bowl beat the cream cheese and condensed milk until smooth. Add cream, gelatin mix, melted white chocolate and beat until combined. Crush one and a half packets of oreos and add to the mix. Mix until combined. Spoon mixture on top of bases. Cut remaining oreos into quarters and place on top of each cheesecake. Place in fridge to set.


Tuesday, October 30, 2012

Mini Honeycomb White Chocolate Cheesecakes


Honeycomb, what glorious stuff! Crunchy and sweet and when chocolate coated, an absolute dream. I'm usually a creamy and soft kind of gal, but for honeycomb I make an exception. I used Cadbury Crunchie bars for this recipe but there are heaps of other great honeycomb confectionaries available you  could easily substitute for. 


The honeycomb that was mixed into the cheesecake went all melty after being in the fridge for a while. I liked it but it may not be everyone's cup of tea so consider yourselves warned! The oreo base is super rich so you could replace it with a plain biscuit base to eliminate some sweetness, urm but why would you want to...? Overall super delicious sweet little treat :)


Mini Honeycomb White Chocolate Cheesecake

(Recipe adapted from Cookies and Cream Cheesecake from Nestle's Australia's Sweet Baking Favourites)

What you will need

1 packet oreo biscuits
100g butter, melted
1 tsp gelatine
2 tbsp hot water
190g cream cheese
95ml condensed milk
150ml thickened cream
1/2 cup white chocolate, melted
3 Crunchie bars

What you will need to do

For the base, place a 12 cup cupcake silicon tray on a baking tray and set aside. Crush the oreo biscuits and mix with melted butter. Place a spoonful of mixture into each cup of the cupcake tray and press down firm (I used the end of a rolling pin to press them down hard). Place into fridge to set.

For the white chocolate cheesecake, place gelatin and hot water in a small bowl and mix until dissolved. In a separate bowl beat the cream cheese and condensed milk until smooth. Add cream, gelatin mix, melted white chocolate and beat until combined. Chop up 2 Crunchie bars into small pieces and add to the mix. Mix until combined. Spoon mixture on top of bases. Chop up the remaining Crunchie bar into big chunks and place a chunk of top of each cheesecake. Return to fridge to set.


Monday, October 29, 2012

Mini Rocky Road White Chocolate Cheesecake


It's no secret,  I LOVE rocky road! I love marshmallows, I love nuts and I love chocolate. I also love white chocolate cheesecake and the two together become deliciousness overload. After a few days in the fridge, the marshmallows start to melt into the cheesecake and turn so unbelievably soft and sweet.


I chose an oreo biscuits base as I've made it before and it is just divine. I may have forgotten the cherry or jelly aspect of rocky road in these but they honestly don't need it, they are delicious enough as is. I love making things in miniature, but you can totally make this as one big cheesecake if you wish.


Mini Rocky Road White Chocolate Cheesecake

(Recipe adapted from Cookies and Cream Cheesecake from Nestle's Australia's Sweet Baking Favourites)

What you will need

1 packet oreo biscuits
100g butter, melted
1 tsp gelatine
2 tbsp hot water
190g cream cheese
95ml condensed milk
150ml thickened cream
1/2 cup white chocolate, melted
2 picnic bars
1 bag marshmallows


What you will need to do

For the base, place a 12 cup cupcake silicon tray on a baking tray and set aside. Crush the oreo biscuits and mix with melted butter. Place a spoonful of mixture into each cup of the cupcake tray and press down firm (I used the end of a rolling pin to press them down hard). Place into fridge to set.

For the white chocolate cheesecake, place gelatin and hot water in a small bowl and mix until dissolved. In a separate bowl beat the cream cheese and condensed milk until smooth. Add cream, gelatin mix, melted white chocolate and beat until combined. Chop up picnic bar into small pieces and add to the mix. Chop up marshmallows into quarters and add to the mix. Mix until combined. Spoon mixture on top of bases. Return to fridge to set.


Sunday, October 28, 2012

Mini Kinder Bueno White Chocolate Cheesecakes


Kinder has got to be one of my favourite chocolate brands (if anyone knows where I can still buy Kinder's Happy Hippos LET ME KNOW!) So I decided to mix in some Kinder Buenos to this batch, I just adore the creamy filling.


Unfortunately the wafers went a bit soggy when mixed in with the filling :( , but the creamy goodness of the Bueno was still delicious and a great match with the white chocolate flavour. I wished I could have used straight Buenos for the base but I did not have a tin that would fit them nicely.


When I bought the Kinder Bueno, I had been tossing up between Ferrero Rochers and the Bueno. I decided that the Ferrero Rocher deserved its own complete hazelnut cheesecake whereas the Bueno would work better with the white chocolate. Although these cheesecakes were delicious, I can't help thinking what the Ferrero Rochers would have tasted like in this cheesecake! 


Mini Kinder Bueno White Chocolate Cheesecake


(Recipe adapted from Cookies and Cream Cheesecake from Nestle's Australia's Sweet Baking Favourites)

What you will need


1 packet plain biscuits
100g butter, melted
1 tsp gelatine
2 tbsp hot water
190g cream cheese
95ml condensed milk
150ml thickened cream
1/2 cup white chocolate, melted
3 packets Kinder Buenos
1 extra packet Kinder Bueno for decoration


What you will need to do


For the base, place a 12 cup cupcake silicon tray on a baking tray and set aside. Crush the biscuits and mix with melted butter. Place a spoonful of mixture into each cup of the cupcake tray and press down firm (I used the end of a rolling pin to press them down hard). Place into fridge to set.

For the white chocolate cheesecake, place gelatin and hot water in a small bowl and mix until dissolved. In a separate bowl beat the cream cheese and condensed milk until smooth. Add cream, gelatin mix, melted white chocolate and beat until combined. Roughly chop Kinder Buenos and add to mix. Pour mix onto bases. Roughly chop the extra Buenos and place pieces on top of each cheesecake and place in fridge to set.


Saturday, October 27, 2012

Mini Jersey Caramel White Chocolate Cheesecake


Mmmm, jersey caramels are so underated. Delicious cubes of caramel and cream, what's not to love? But I find it so rare that they are incorporated into recipes. No longer is that the case! I added them to the base and the filling AND topped these little beauties off with them.


The caramels in the filling slightly softened and became a bit oozey, YUM! The ones in the base added a chewy surprise to every bite. If I had thought about it at the time I would have tried melting some jersey caramels and swirling them through the cheesecake mix instead of adding chunks, just for something different.


Mini Jersey Caramel White Chocolate Cheesecake


(Recipe adapted from Cookies and Cream Cheesecake from Nestle's Australia's Sweet Baking Favourites)

What you will need


1 packet jersey caramels, chopped into small pieces
1 packet plain biscuits
100g butter, melted
1 tsp gelatine
2 tbsp hot water
190g cream cheese
95ml condensed milk
150ml thickened cream
1/2 cup white chocolate, melted
Extra jersey caramels for tops


What you will need to do


For the base, place a 12 cup cupcake silicon tray on a baking tray and set aside. Crush the biscuits and mix with melted butter. Add a handful of chopped jersey caramels and mix to combine. Place a spoonful of mixture into each cup of the cupcake tray and press down firm (I used the end of a rolling pin to press them down hard). Place into fridge to set.

For the white chocolate cheesecake, place gelatin and hot water in a small bowl and mix until dissolved. In a separate bowl beat the cream cheese and condensed milk until smooth. Add cream, gelatin mix, melted white chocolate and beat until combined. Add the rest of the chopped jersey caramels. Pour mix onto bases. Top with extra jersey caramels chopped in half and place in fridge to set.


Friday, October 26, 2012

Mini White Chocolate Cheesecake


Okay so Choctober is almost over, thank god! My body hates me for all the chocolatey goodness I have been ingesting this month, I've had to take up swimming AND running just so I didn't completely balloon. This week I went a little crazy, cheesecake crazy. I made cute mini white chocolate cheesecakes, but that wasn't enough, I had to make a few variations with extra flavours thrown in. So the last couple of days of Choctober will be delicious little white chocolate cheesecake variations.


I used the same recipe from the Trifecta Cheesecake last week, but just used a plain biscuit base. I used a silicon cupcake tray to make these but I think they would be just as cute and probably less messy if you used cupcake papers. I also discovered while taking photos of these that photos of white foods are really hard to do well :( so shiny!


Mini White Chocolate Cheesecake

(Recipe adapted from Cookies and Cream Cheesecake from Nestle's Australia's Sweet Baking Favourites)

What you will need


1 packet plain biscuits
100g butter, melted
1 tsp gelatine
2 tbsp hot water
190g cream cheese
95ml condensed milk
150ml thickened cream
1/2 cup white chocolate, melted


What you will need to do


For the base, place a 12 cup cupcake silicon tray on a baking tray and set aside. Crush the biscuits and mix with melted butter. Place a spoonful of mixture into each cup of the cupcake tray and press down firm (I used the end of a rolling pin to press them down hard). Place into fridge to set.

For the white chocolate cheesecake, place gelatin and hot water in a small bowl and mix until dissolved. In a separate bowl beat the cream cheese and condensed milk until smooth. Add cream, gelatin mix, melted white chocolate and beat until combined. Pour mix onto bases and place in fridge to set.


Sunday, October 21, 2012

Trifecta Chocolate Cheesecake Slice


I've never made cheesecake using condensed milk. Some of you are probably thinking 'WAHHH??' others are probably like 'yeah so?'. Well I wanted to know what I was missing out on, so this weekend I made a white chocolate cheesecake on a milk chocolate filling on a dark chocolate base, the trifecta of chocolates!

I wasn't completely overwhelmed by the result of the condensed milk cheesecake, i've made better, but it still turned out nice and tasted great. It was a bit softer and runnier than other cheesecakes i've made which can be a bit frustrating when getting it out of the tin, but hey it's still delicious!


I altered a recipe for Rum n Raisin slice from my Nestle cookbook for the base and chocolate layer and a recipe for cookies and cream cheesecake for the cheesecake layer. The white chocolate cheesecake layer is so versatile you can add just about anything to it to create a completely new cheesecake. 


Trifecta Chocolate Cheesecake Slice


What you will need

For the base
1/2 cup plain flour
1 tbsp cocoa
1/4 cup brown sugar
1/4 cup desicated coconut
115g butter, melted
1/2 cup dark choc chips

For the chocolate filling
3/4 cup milk choc melts
115ml thickened cream
1 egg, lightly beaten

For the white chocolate cheesecake
1 tsp gelatine
2 tbsp hot water
190g cream cheese
95ml condensed milk
150ml thickened cream
1/2 cup white chocolate, melted

Extra choc-chips, milk, dark and white

What you will need to do

Pre heat oven to 180*C. Line a loaf tin with baking paper. For the base, place all ingredients into a bowl and mix until combined. Press mixture into prepared loaf tin and bake in oven for 15 minutes or until browned. Leave out to cool.


For the chocolate filling, place chocolate and cream in a bowl. Melt over pan of simmering water until smooth. Put aside to cool slightly. Mix in egg then pour onto base. Bake for a further 20 mins or until set. Take out and cool.

For the white chocolate cheesecake, place gelatin and hot water in a small bowl and mix until dissolved. In a separate bowl beat the cream cheese and condensed milk until smooth. Add cream, gelatin mix, melted white chocolate and beat until combined. Pour on top of chocolate mix. Sprinkle extra choc-chips on top and put into fridge to set.


Wednesday, October 17, 2012

Tim Tam Straws


So this isn't exactly a recipe, but Tim Tams were on special at woolies this week and I thought I would share with you my favourite way to enjoy them. TIM TAM STRAWS!! Drinking your coffee through a Tim Tam is super decadent but a little messy (and if you're too slow...smooshy smooshy Tim Tam in the bottom of your coffee).

Simply make a coffee and bite off opposite corners of a Tim Tam.


Put one end into coffee and suck through the corner like a straw! 


Tim Tam will go soft and melty very quickly so stop sucking and eat it quick!


Try stopping at one. I dare you.

Saturday, October 13, 2012

Homemade Choc-Top Drumsticks


Well Choctober is now well underway and I'm keeping my promise about the chocolate centred recipes even if my stomach begs me to stop! This week I decided on Choc-Tops. I have the easiest, most delicious ice cream recipe and I thought it was time to crack it out.


My favourite part of drumstick ice creams was the thick bit of chocolate found at the bottom of the cone, I just had to replicate it! I made a yummy chocolate sauce to go between layers of vanilla ice cream. I topped half with a cookie  dough ice cream and the other with choc-fudge brownie ice cream (chocolate overload!).


Homemade Choc-Top Drumsticks


What you will need


8 waffle cones
300g milk chocolate, melted
3 pieces chocolate brownies
Half a packet of cookie dough mix (made up following instructions on packet)
200g extra milk chocolate, melted

For the Ice Cream
1 tin condensed milk
600ml cream

For the Chocolate Sauce
1/3 cup cream
150g dark chocolate
Handful marshmallows

What you will need to do

Spread the insides of the waffle cones with the melted chocolate. I set mine up in the egg holder from my fridge balanced on two glasses, it worked perfectly! Put in freezer to set.


To make the chocolate sauce, heat the cream, chocolate and marshmallows in a small saucepan over low heat until smooth.
To make the ice cream, beat the cream and condensed milk until thick. Fill the cones one third with ice cream, top with chocolate sauce and another layer of ice cream. Return to the freezer to set.


Split the rest of the ice cream between two containers. Mix any remaining chocolate sauce and the chocolate brownies into one container and the cookie dough into the other. Put into freezer to set.
Once set, scoop 4 large scoops of brownie ice cream and place on top of 4 waffle cones. Scoop 4 large scoops of cookie dough ice cream and place on top of other 4 waffle cones. Return to freezer to set again for about 10 minutes. 


Take out and dip each cone into the extra melted chocolate. Return to freezer to set. Once chocolate is set, ENJOY!


Sunday, October 7, 2012

Chocolate Brownies


I used to make brownies a lot. I mean A LOT! Every time I went to a gathering I would take a plate of brownies and they would disappear instantly. I had a fail proof recipe that was not only quick and easy, but also economical. It didn't use any chocolate only cocoa powder so you were bound to have the ingredients on hand.


The only issue I had with this recipe was that it didn't exactly tick all the boxes for the perfect brownie. My guidelines for a great brownie include:
  • Crispy thin crust on the top
  • Dense middle
My brownies were fairly dense, but they were more cake like and didn't have a crust :(. It will always be my go to recipe though for last minute brownies when I have no chocolate :).


I am always searching for the perfect brownie recipe...and I think I found it! I tried a recipe from the Nestle cookbook but it wasn't quite right. They did taste a lot nicer after I froze them though, a tip I picked up from David Lebovitz. But then I tried a recipe I found on this wonderful blog 'I eat therefore I am' and what do you know, pretty awesome brownies!


I tried two variations, one with milk and white choc-chips and another with cookie dough (as seen on Bakerella). My choc-chips sunk to the bottom :( I think I should have added them at the end once the mixture was already in the pan. The cookie dough brownies turned out pretty spot on.


Chocolate Brownies

Adapted from I eat therefore I am

What you will need

300g dark chocolate
125g unsalted butter
3 large eggs
1 cup brown sugar
1 tsp coffee powder dissolved in 1 tbsp hot water
1/2 cup plain flour sifted

For choc-chip variation
1/2 cup white choc-chips
1/2 cup milk choc-chips

For cookie dough variation
1 packet cookie dough mix, made up

What you will need to do

Preheat oven to 180*C. Line a baking tin with baking paper (I used a loaf tin and a small round cake tin and found the cake tin worked better). In a small saucepan over low heat, melt the chocolate and butter. Put aside to cool slightly. In a large bowl, beat the eggs and sugar until thick and creamy. Fold in coffee, flour and chocolate mixture. Pour mixture into pan. 

For choc-chip variation, sprinkle white and milk choc-chips over mixture and swirl through once gently with a knife.

For cookie dough variation, drop spoonfuls of cookie dough over mixture and press down into mixture gently.


Cook for approximately 30 -35 minutes. Brownies should still be gooey in the middle when you take them out of the oven. Leave to cool in the tin until room temperature. I put mine in the fridge for an hour before I cut it but it isn't completely necessary.