Sunday, December 22, 2013

Pecan Pies and Christmas Treats


I have been a bad blogger. It is 3 sleeps until Christmas and I haven't posted ANYTHING in a month let alone anything Christmas related. For this I apologise. In my defence though, we are currently packing up our house for the big move back to Sarina and I have been working some extra shifts at the bakery. Also I spent the last couple of weeks studying my workbooks for my final assessment, which I passed, HOORAY!


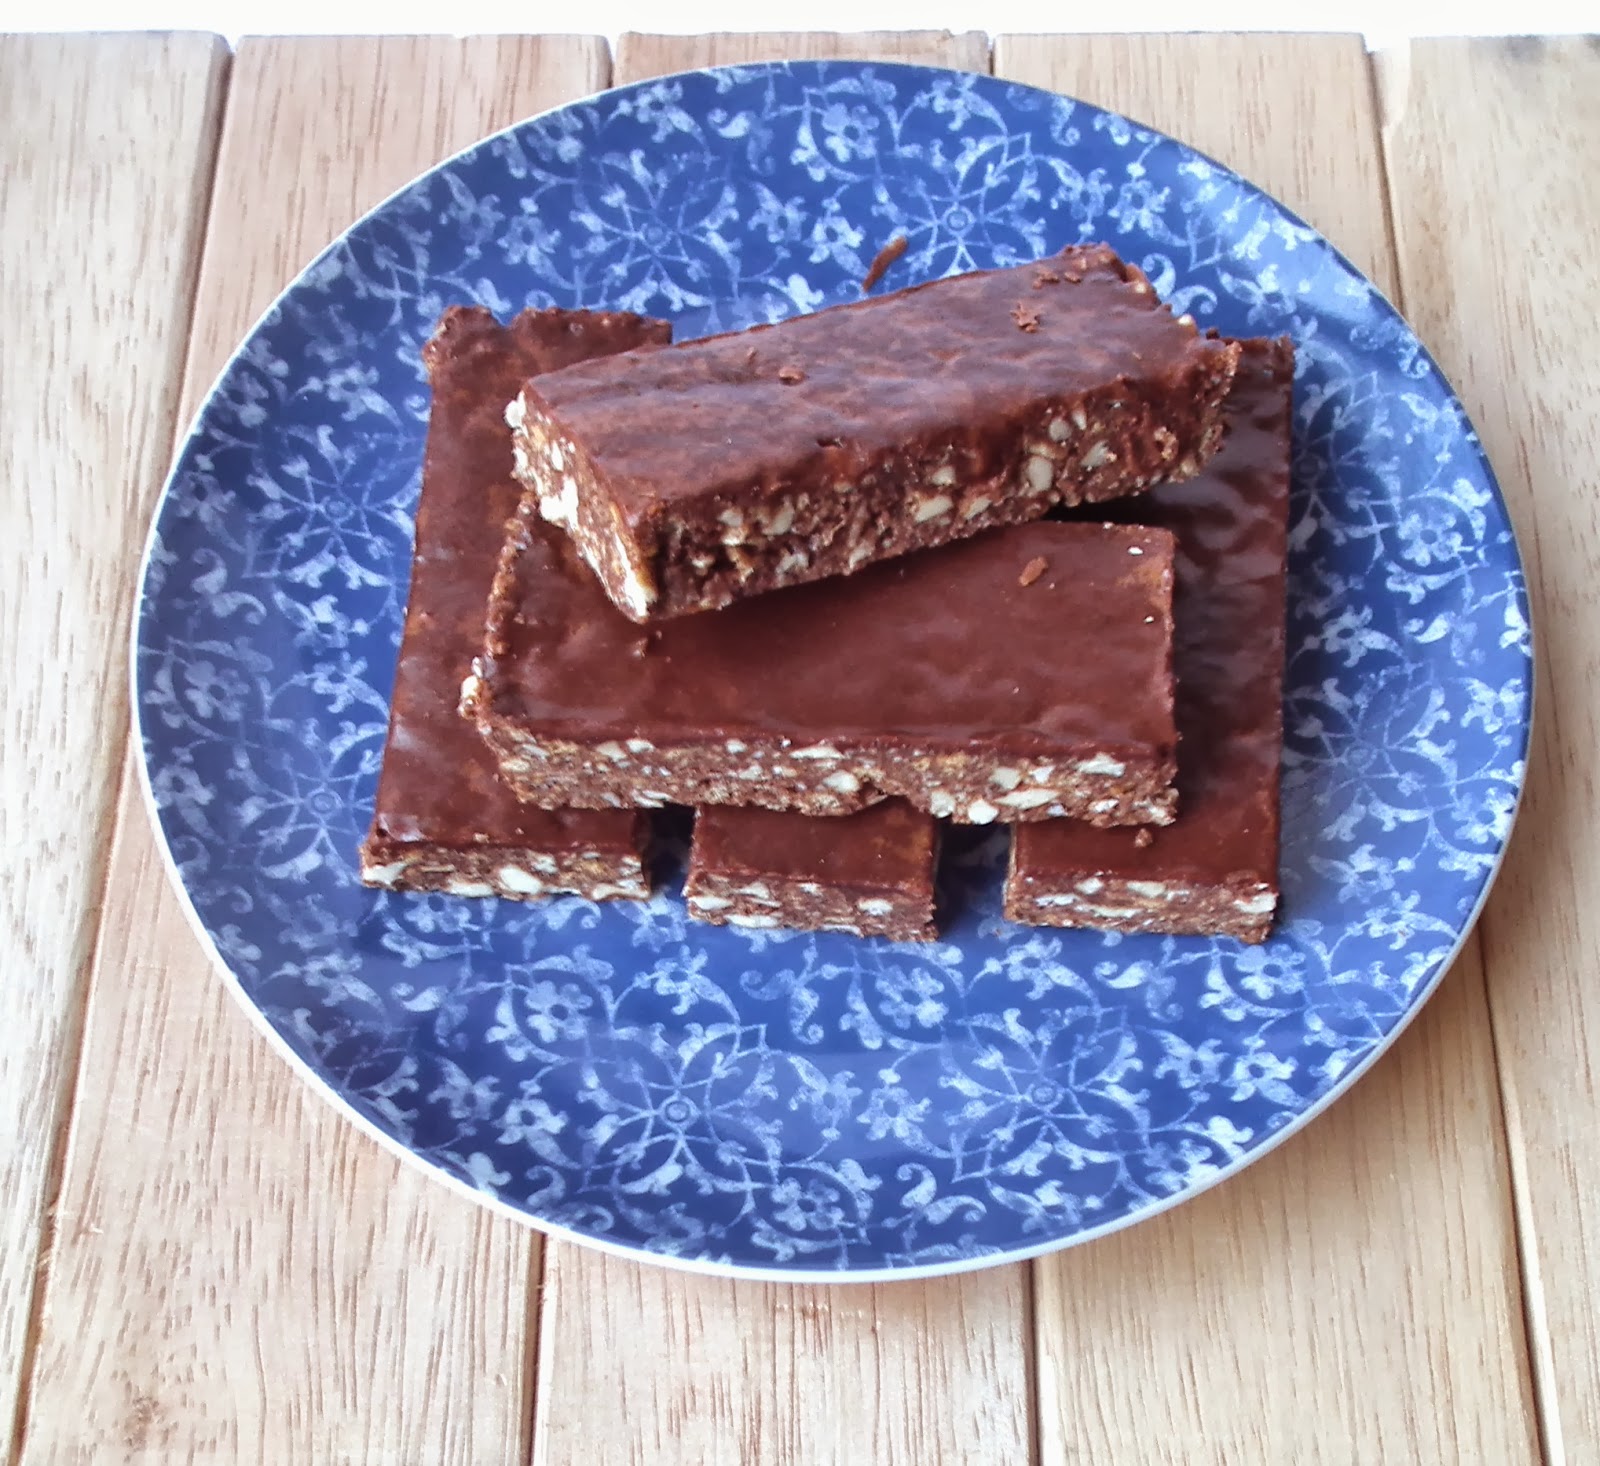
So sadly Christmas blogging has been put to the back of my mind until now. I have made a few tasty christmas treats and boxed them up for some little christmas gifts. I made chocolate balls, rum balls, marshmallow, coconut ice and the crowning glory Pecan Pies. I used recipes from Taste.com for the marshmallow and coconut ice and just kind of made up the recipe for chocolate and rum balls (sorry will post them if I have time). 


I bought the cute little boxes from BIG W for $5 for a pack of six. I lined them with some baking paper and just filled them with Christmassy goodness. This will be my last chance to post before Christmas so from my kitchen to yours, I'd like to thank you for visiting my blog throughout the year, may you all have a very merry Christmas and a Food-tastic New Years!!


Christmas Pecan Pies

Adapted from Taste.com

What you will need


For the pastry
2 cups plain flour
240g chilled butter, cubed
2 tbs caster sugar
1 egg yolk
3 tsp iced water

For the filling
3 eggs, lightly whisked
3/4 cup golden syrup
100g  brown sugar
50g butter, melted
1 1/2 cups pecans, chopped

What you will need to do


To make the pastry, place the flour, butter and sugar in the bowl of a food processor, and process until the mixture resembles fine breadcrumbs. Add the egg yolk and iced water and process until the mixture just begins to come together. Turn the pastry onto a lightly floured surface and knead lightly until smooth. Shape into a disc, cover with plastic and place in the fridge for 30 minutes to rest.

Preheat oven to 200°C and prepare a nonstick muffin tray or lightly oil a normal muffin tray. Use a lightly floured rolling pin to roll 1 portion out to about 3mm-thick. Use a cutter just bigger than the muffin tray holes to cut discs ( I got about 15). Use the discs to line the muffin tray and place back in the fridge for 30 minutes to rest.

Bake in preheated oven for about 15 minutes or until golden. Remove from oven. Reduce oven temperature to 160°C. Meanwhile, to make the pecan filling, whisk the eggs, golden syrup, sugar and butter in a medium bowl. Stir in pecans. Pour mixture evenly into warm pastry cases. Bake in preheated oven for 20 minutes or until just set in centre. Place pies on a wire rack to cool.


Wednesday, November 27, 2013

Rum, Caramel and Meringue Semifreddo


I love ice-cream. I like it soft and a little melty and any flavour will usually suffice. Maybe it's this hot humid weather that we experience this time of year in the north but I have been indulging in ice cream more than usual lately. I have a great recipe that I usually use to make a super delicious, super easy home ice-cream but have ventured out a little and found a different version that is still easy and yummo.


This recipe is a combination of a Caramel Semifreddo and Nigella's Meringue Gelato Cake. I added some rum ('tis the season) and created a delicious frozen dessert. You can call it anything really I won't hold it against you semifreddo, gelato or ice-cream. I'm sure there are proper definitions of each but it's all the same when its in my belly! The meringue gives it a little crunch of texture which I don't mind in ice-cream, and rum + caramel = great combination! Enjoy! Oh and apologies for the terrible photos, not my best effort :(


Rum, Caramel and Merengue Semifreddo

Adapted from Australia's Sweet Baking Favourites and Nigella.com

What you will need


4 eggs, separated
1/2 cup sugar
300ml thickened cream
1 can caramel top 'n' fill (or a tin of condensed milk boiled to caramel)
30mls rum
100g crushed meringues


What you will need to do


In a small bowl, whisk the caramel with the rum until smooth. Set aside. In a large bowl, beat the egg yolks and sugar until pale and creamy. Add the cream and beat until thick. In a separate bowl, beat the egg whites until stiff peaks form. Fold the egg white mixture into egg yolk mixture until just combined. Gently fold through spoonfuls of the caramel mixture and merengues until just combined, do not over mix. Pour mixture into a pan with at least 2l capacity. Freeze overnight.


Wednesday, November 13, 2013

Choc Chip Banana Bread


I love a nice slice of banana bread, toasted with a bit of butter. But you know what is even better? Banana bread with a sprinkling of choc chips! Most people I mention this recipe to react with 'That's unusual!', but I grew up making choc chip banana muffins so this combination seems pretty common.


This recipe is a great way to use up old bananas and is so easy to make. You pretty much just mix the wet and dry ingredients together then bake. It would make a great  recipe to introduce children to baking as you can do it all by hand and they will only need help with the oven.


I decided to make half of the flour wholemeal to try and add a bit of 'health' factor to the recipe but I should have upped the milk or butter a bit as I feel it lost some of the moisture (wholemeal absorbs more liquid than white) so after being in the fridge for a few days it did taste a bit dry. Feel free to experiment by increasing the liquid a bit, if you do let me know how it goes! Next time I make it I know I will tinker with it a bit more.


Choc Chip Banana Bread

Adapted from Australia's Sweet Baking Favourites by Nestle

What you will need


1 cup plain white flour
1 cup plain wholemeal flour
1/3 cup brown sugar
1 bag choc chips
2 eggs
3/4 cup milk
2 large mashed bananas
50g melted butter

What you will need to do


Preheat the oven to 180*C and prepare a loaf tin by spraying the inside with cooking oil. In a bowl, combine the flours, sugar and choc chips (reserve a handful to sprinkle over the top). In a separate bowl combine the eggs, milk, bananas and butter. Add to the dry ingredients and stir until just combined. Pour into prepared tin and sprinkle the reserved choc chips over the top. Bake for approximately 40 mins or until the centre is fully cooked (check with skewer or cake tester).

Remove from oven and let cool in the tin for a few minutes before turning out on to wire to cool completely.


Wednesday, October 30, 2013

Nanaimo Slice


I have been wanting to make this slice for some time now, ever since I tasted it at a local cafe. It is a canadian treat and I had never even heard about it until recently. This no-bake slice is made up of three layers. The first is a chocolatey, nutty, coconut, biscuit crumb base not dissimilar to chocolate slice or a cheesecake base. The middle layer is a custard flavoured buttercream filling and the final layer is a chocolate ganache. 


Richness overload! It is very sweet and indulgent. I probably could have halved the filling in the middle to make it less of a heart-attack-inducing treat. So I ticked this off my bucket list of baked goods (well technically no-bake) and put it on my "stuff to try for realsies list". Now that I have made them myself, I look forward to trying these treats IN Nanaimo, Canada...one day.


Nanaimo Slice

Adapted from I Wash You Dry

What you will need


For the base
1/2 cup butter, room temperature
5 tbsp cocoa powder
1/2 cup sugar
1 tsp vanilla
1 egg, lightly beaten
1 1/2 cups plain biscuits processed to crumbs (you can use gluten free biscuits)
1/2 cup chopped walnuts
1 cup desiccated coconut

For the filling
1/2 cup butter, room temperature
2 tbs custard powder
3 tbsp cream
2 cups icing sugar

For the topping
115g milk or dark chocolate
3 tbsp butter
2 tbsp cream

What you will need to do


Prepare a slice tin by lining it with baking paper and set aside. Set up a  heatproof bowl over a saucepan of simmering water making sure not to let the bowl touch the water. Place the butter, cocoa, sugar and vanilla in the bowl and whisk until melted and sugar is dissolved. Remove the bowl from the saucepan and quickly add the egg and whisk until combined. Return the bowl to above the saucepan and stir cooking for another 2 minutes. Remove from heat and add the crushed biscuits, walnuts and coconut. Mix until all combined then press into the prepared tin. Place in the fridge to set.

To make the filling, beat the butter, custard powder and cream in a bowl until light and fluffy. Gradually add the icing sugar until light and fluffy and sugar has dissolved. Spread out over the base and return to the fridge.

To make the topping, place the chocolate butter and cream in a heatproof bowl and place over the saucepan of simmering water just like for the base. Stir until melted and smooth. Remove bowl from the saucepan and leave to cool for about 10 minutes. Pour chocolate mixture over the top of the slice and spread out. Return to the fridge until the chocolate has set. Remove from fridge and slice into pieces.


Wednesday, October 16, 2013

Melting Moments with Strawberry Jam


I donate plasma as often as I can, it's such a wonderful thing to do and because I don't really make enough money to donate to charities I donate my time and my plasma instead. And the best part of donating blood or plasma is the food the lovely ladies feed you afterwards! There is always such a delicious selection of biscuits, cakes and savouries you always leave with a full tummy.


My favourite by far is the melting moments biscuits they serve. I cannot remember the brand, but they are large and individually wrapped. They literally melt in our mouth and are just what you expect the perfect melting moment to be. So naturally I had to try and recreate them for myself. I added a strawberry jam to these ones because of the abundance of strawberries that were around at the time so they are a bit of a melting moment / monte carlo hybrid. I have tried a couple of recipes to get the best one and this recipe was given to me by D's mum, it's just a recipe from a magazine but unfortunately I don't know which one :(


Melting Moments with Strawberry Jam

Adapted from Barb Northwood

What you will need

250g butter, room temperature
1/3 cup icing sugar
1 1/2 cups plain flour
1/2 cup cornflour 

For the icing
100g butter, room temperature
1 1/2 cups icing sugar
1 tsp vanilla

For the jam
100g strawberries, green leaves chopped off
100g sugar
1tsp gelatine


What you will need to do


Preheat the oven to 180*C and prepare a baking tray with baking paper. Set aside. Beat the butter and icing sugar in a small bowl until pale and creamy. Stir in sifted flour and cornflour until combined. Roll spoonfuls of mixture into balls and place onto the baking tray and flatten with a fork dusted in flour. Cook for about 12 minutes or until just starting to brown. Cool on the trays then transfer to a wire rack.

Meanwhile to make the jam, chop the strawberries into small pieces and place in a small saucepan. Add the sugar and cook over medium heat until sugar has dissolved, stirring all the time. Let mixture simmer until it thickens slightly. Dissolve the gelatine in one tablespoon of warm water then add to the jam mixture. Remove from heat and stir. Pour the jam into a heat proof container and place in the fridge to cool and thicken.

To make the icing, beat the butter  until light and creamy. Add the icing sugar and vanilla and beat until thick and pale. Spoon or pipe icing onto half the biscuits. Spread jam on the other half and then sandwich together.


Wednesday, October 9, 2013

Chocolate and Pomegranate Brownie Slice


I don't know about you, but I'm starting to feel the Christmas spirit already. I know it's only October and Christmas is still ages away, but there's just something screaming Christmas at me lately. I think it has to do with the weather, it's getting hotter and certain trees are flowering and the distinct smell of Christmas is just starting to come about here and there. Don't worry I'm not posting a Christmas recipe this week...but just be aware that they might start popping up soon.


This brownie slice is so decadent. I thought I would try something a little different by making pomegranate cream and it might need a little tweaking still but it is still very delicious and goes well with the chocolate brownie. I found the pomegranate cream recipe on Pinterest from a blog called A Spicy Perspective in a recipe for Chocolate and Pomegranate Petit Fours. I would like to try the whole recipe one day.


Chocolate and Pomegranate Brownie Slice

Adapted from A Spicy Perspective

What you will need


For the brownie
130g butter
340g dark chocolate
1 1/4 cup sugar
1tsp vanilla
3 eggs
1/2 cup flour

For the pomegranate cream
230g unsalted butter, softened
1 cup sugar
1 cup pomegranate juice
¼ cup flour

For the chocolate ganache
100g chocolate
50ml cream


What you will need to do


Preheat oven to 175*C and line a large rectangle tin with baking paper.
In a small saucepan melt the butter and chocolate over low heat. Stir until melted. Take off the heat and add the sugar and vanilla, stir until combined. Beat in eggs one at a time. Add the flour and mix rigorously for a whole minute until it becomes smooth and glossy and pulls away from the side of the pan a bit. Apparently this step is crucial to getting the right texture at the end. Pour batter into prepared tin. Bake for 30 minutes or until the centre feels almost set. You do not want to over cook them. Take out of oven and cool in the tin. Place in the fridge to cool.

For the pomegranate cream, place the pomegranate juice and flour in a small saucepan and whisk so there are no lumps. Place over medium heat and whisk until the mixture boils. Whisk until the mixtures becomes a thick paste. Place in the fridge to cool. Meanwhile beat the butter and sugar until fluffy and glossy. Add the cooled pomegranate mixture and beat for 5 minutes until fluffy.

Take the brownie out of the tin and cut in half to produce two identical slabs. Spread the pomegranate cream over one slab and then place the other one on top. Press down slightly.

To make the ganache. Place the cream and chocolate in a small saucepan and melt over low heat, stirring constantly. Leave to cool and thicken slightly and then spread over the tops of the brownie slice. Cut into small squares to serve.


Thursday, October 3, 2013

Cookies and Cream Fudge and Facebook


I did it. I went back. I rejoined the world of Facebook and this time I brought my blog along for the ride! So if you're a fan of Sugabuttacream head on over to my page and 'like' away!


Now this recipe was bittersweet for me, trust me it is super delicious and seriously sweet in every way, but it just depends what your definition of 'fudge' is. To me, fudge should be solid at room temp, kind of crumble a bit when you bite it and just melt in your mouth, you get that kind of fudge from boiling sugar to just the right temperature.


This fudge is soft, and if you left it at room temperature I'm sure it would melt even softer. Don't get me wrong it is crazy good! But I'm going to go ahead and classify it as 'soft fudge' just so there is no future confusion. Cookies and cream is a classic flavour that I love, but you could add just about anything to this and it would be just as good.

Cookies and Cream Fudge

Adapted from Sugar For the Brain

What you will need


1 tin Condensed milk (395ml)
510g White chocolate
2 packets Oreos, crushed


What you will need to do


Prepare a slice tin by lining it with baking paper, set aside. In a heatproof bowl place the condensed milk and chocolate. Place over a small saucepan of barely simmering water (don't let the water touch the bowl) and let the chocolate melt. Stir to remove any lumps. Add the Oreos and mix to combine. Pour the mixture into the prepared tin and spread to fill the tin and level out the top. Place in the fridge for at least 2 hours to set.


Saturday, September 28, 2013

Hedgehog Slice


My first encounter with Hedgehog slice was through a friend at school whose mum used to make it for her school lunch. I tried it one day and absolutely loved it! It was probably the first time I had asked someone for their recipe. Her slice was a bit different to this one, it wasn't chocolate and I think it had almonds in it and a layer of chocolate over the top. I can't actually remember if I ended up making her version even after getting the recipe, but I just recently started to think about it again.

I had a left over packet of biscuits from another baking session and thought I should give it a go. I had some cashews on hand and thought they would be a nice addition and they really were! They make it taste a little more sophisticated. I would have liked to make a pure chocolate layer over this slice but I was making this with things I already had in the pantry and so I just made a quick chocolate glaze icing.


Hedgehog Slice

Adapted from KidSpot

What you will need


1 packet plain biscuits (I used Malt biscuits)
1 cup cashews
150g butter
150g sugar
1 egg
1/4 cup cocoa
1/2 cup coconut
1 tsp vanilla

For the icing
1/2 cup icing sugar
1 tsp butter
1 tbsp cocoa
Water


What you will need to do


Prepare a slice tin by lining it with baking paper. Place the butter and sugar in a small saucepan and stir over low heat until the butter has melted. Set aside to cool.

Crush the biscuits and cashews in a food processor. Try to leave some larger chunks. Place in a bowl and add cocoa and coconut. Stir to combine.

Add egg and vanilla to butter mix and stir in quickly. (Note - if your mixture is still hot the egg will cook and not mix in, if this happens, strain the mixture to remove and bits of cooked egg.) Add to the biscuit mixture and stir until well combined. Place mixture into prepared tin, spread out evenly and press down. Place in the fridge to set, may take a couple of hours.

To make the icing, sift the icing sugar and cocoa in a small bowl, add the butter and mix to combine. Slowly add water to reach a smooth and spreadable consistency. Spread over the top of the slice and return to fridge to set.


Wednesday, September 18, 2013

Apple and Cinnamon Danish Scrolls


Baking must be in my blood. I found out recently that my cousin has started a small business of catering High Teas including baking all the food and setting up the event. She has made some amazing looking things and one of them was these danishes. They looked too good to pass up so I thought I would give it a go myself! She only services the area where she lives outside of Rockhampton QLD but if you want to check her out head over to Miss Amy's Facebook page.


I make apple scrolls everyday at work but they are made on a sweet bread dough base. These are a laminated dough so they take extra effort and time but are so worth it! They are light and almost flaky and just super delicious. I made mine quite big but you can always cut them smaller and make more.


Apple and Cinnamon Danish Scrolls

Adapted from Taste.com

What you will need

For the dough
7g dried yeast
1 tbsp caster sugar
1/2 cup warm milk
1 1/2 cups plain flour
Pinch of salt
1 egg lightly whisked
100g butter, room temperature
1 extra egg, beaten (for egg wash)

For the filling
1 apple, cored, peeled and chopped finely
1/2 cup sultanas
2 tsp ground cinnamon
50g butter, room temperature
1/2 cup brown sugar

For the icing
1 cup icing sugar
1 tbsp milk

What you will need to do

In a bowl, combine yeast, caster sugar and milk and set aside for 5 minutes until foaming. Place the flour and salt in a large bowl and make a well in the centre. Add the milk mixture and egg to the flour and stir with a round blade knife (or alternatively use the dough hook attachment on your mixer) to stir until combined. Turn onto a lightly floured surface and knead until smooth. Lightly grease the bowl and place the dough back in and sit for about 20 minutes until the dough has grown in size.

Turn the dough out onto a floured surface and roll out into a rectangle. Rub the butter over two thirds of the rectangle. Fold dough into thirds to enclose the butter. turn the dough 90* clockwise and roll out again into a rectangle. Fold into thirds again, wrap in plastic and place in the fridge for 20 minutes to rest. Repeat the rolling and folding again then wrap and put back in the fridge. Repeat this whole process three times.

To prepare the filling, combine the butter and and brown sugar in a bowl until well mixed. In a separate bowl combine the apple, sultanas and cinnamon. Line a loaf tin with baking paper and preheat the oven to 200*C.

Roll out the dough one more time, fold and place in the fridge for 30 minutes to rest. After 30 minutes take the dough and roll it into a rectangle one final time. Spread the butter and sugar mixture over the dough and sprinkle over the apple mix. Roll the dough from the long end into a big log. Slice the log into six pieces. Place the pieces into the prepared tin so that you can see the spirals from the top. Place in a warm spot for about 30 minutes or until the pieces just about double in size. Brush the tops with the extra egg. Bake in the oven for 15 to 20 minutes or until the tops have browned. Lift scrolls out of the tin using the baking paper and place on a cooling rack.

To make the icing, mix the icing sugar with the milk until smooth. Spoon the icing onto the tops of the scrolls.


Wednesday, September 4, 2013

White Chocolate Mousse Dome with Strawberries and Walnut Praline


I love small dome shaped cakes, they just look quaint and special. These cakes contain a sponge base with white chocolate mousse and strawberries covered in a dark chocolate shell. I originally wanted more of a glaze than a shell over the top but they still turned out wonderful. The walnut praline on the top adds a sweet little crunch and was so simple to make.


One day I will invest in a 'hemisphere' cake tin to make perfectly round dome cakes, but for now I make do with small pinch bowls that are almost completely round. Feel free to make your own sponge too but I found one marked down at the supermarket so used that instead. These little domes are quite appealing and will impress dinner guests but they are so easy to make and can be made ahead of time.


White Chocolate Mousse Dome with Strawberries and Walnut Praline

Adapted from Taste.com

What you will need


1 sponge cake
About 12 strawberries
200g dark chocolate
1 tbsp olive oil

For the mousse
180g white chocolate
300ml thickened cream
1 tsp gelatine powder
3 eggs, separated

For the Praline
1 cup crushed walnuts
1/2 cup sugar


What you will need to do


Using the pinch bowls as a guide, cut out six rounds of sponge cake at about 15mm thickness and set aside.


Prepare 6 small pinch bowls by lining them with glad wrap.


To prepare the mousse, melt the white chocolate and cream over a double boiler until the chocolate has melted. Remove from heat and set aside to cool slightly. Place 1 tbsp of boiling water in a small heatproof bowl and add the gelatine. Bring a small saucepan of water to the boil (I used the same one from melting the chocolate) then take off the heat. Sit the bowl of gelatine in the saucepan until the gelatine dissolves.

Stir the gelatine and egg yolks into the cream and chocolate mixture then refrigerate until slightly thickened. In another bowl, beat the egg whites until stiff peaks form. Fold into the cream mixture until evenly combined. Spoon the mixture into the prepared pinch bowls and divide evenly amongst them. Place in the fridge. Cut the strawberries into halves and remove the tops. Take the bowls out of the fridge and press in four halves into each one.


Take the sponge cake rounds and place into each bowl. Press down gently until you can feel that the sponge is touching the mousse. Wrap any excess plastic wrap over the sponge to secure firmly. Place in the freezer for a couple of hours.


Melt the dark chocolate in a double boiler and add the olive oil. Remove the bowls from the freezer and tip upside down. Carefully remove the mousse cakes and take away the plastic wrap. Sit on a wire rack over a baking tray.


Carefully pour the dark chocolate over the mousse working quickly one at a time to try and cover the whole dome before the chocolate sets. Place domes back into the fridge.

To make the walnut praline, place the sugar in a small saucepan over low heat. Line a baking tray with grease proof paper and spread the walnuts out over it. When the sugar is melted and turning a caramel colour, remove from the heat and pour over the walnuts. BE CAREFUL IT WILL BE SUPER HOT! Leave the walnuts to sit until the sugar has hardened. Break the praline up using a food processor or just whacking it with something hard (I used rolling pin).

Remove the domes from the fridge and top with a small amount of praline. If they don't stick well, melt the tops a little with a blowtorch then add the praline. Keep refrigerated until ready to serve.


Wednesday, August 21, 2013

Strawberry and Coconut Tarts and One Year Blog-iversary!


It is hard to believe that I have been blogging for one whole year already! I feel like I have learned so much in this year, about baking, blogging and about myself. Sugabuttacream has been a great way to express my creativeness and practice photography and writing (God knows I need it!). I have made things I never thought I would bother to attempt and learned some great skills and techniques along the way. Gosh its definitely about 'the journey' isn't it.


Admittedly this anniversary snuck up on me and I would have liked to have done something a bit more amazing and celebratory-like for this post. But shortcrust pastry tarts are something I have been meaning to make since I bought my food processor so it seemed as good a time as any to try it out now.  This is such a simple pastry recipe and can be used for any sort of sweet tart. These are my twist on the classic strawberry jam and coconut slice and taste just as delicious!

Strawberry and Coconut Tarts

Recipe adapted from Taste.com and Generations of Bush Cooking

What you will need

For the pastry
250g plain flour
125g chilled butter, cubed
1/3 cup caster sugar
1 egg yolk
1tbsp cold water

For the filling
1/2 cup strawberry jam

For the topping
1 egg
1/6 cup sugar
1 cup shredded coconut

What you will need to do

I plan to refer back to this recipe for future shortcrust needs so I have added some visuals for the steps. 

Place flour, sugar and butter into food processor bowl. 

Process until resembles fine crumbs.

Add egg yolk and water.

Process until comes together and forms a ball.


Turn out onto floured surface and kneed lightly until smooth.

Shape into a round disc and place in the fridge to rest for at least 30 minutes.

Preheat the oven to 180*C. Remove pastry from fridge and place on floured surface.

Roll pastry out to about 5mm thick.

Using a round cutter, cut out as many rounds as you can. Take the remaining off cuts and roll out again and cut out more rounds. You should be able to get about 8-10 rounds.

Place the rounds into silicone cupcake trays and gently push down to line the bottom and sides.

Using a fork, poke some holes in the bottom of the tarts.

Bake for 10 -15 minutes or until slightly golden. Leave to cool slightly in tray then gently remove and place on cooling rack.

For the filling, place about 2 teaspoons of jam into each tart to almost fill them. 
For the topping, beat the egg and sugar together until light and fluffy. Stir in the coconut until completely combined. Divide the topping evenly between the tarts, spoon onto the tops. Place in the oven for 5-10 minutes until toppings start to brown. For extra crisp top, use a blowtorch to scorch the tops.