Saturday, September 29, 2012

Mars Bar 'Treasure' Slice


Some of my fondest childhood memories involve cooking with my mum. I remember having so much fun being able to create something delicious for everyone to eat (and of course getting to lick the bowl at the end)! I find it really sad that there are people out there that missed out on this experience as a child :(


There are so many child-friendly recipes out there that are quick, easy and delicious! The king of kids recipes has got to be Mars Bar Slice. Next to chocolate crackles and honey joys, it is the greatest cereal-based recipe around. I re-discovered my inner child whilst planning this recipe and decided it needed more FUN. So I added peanut MnM's and marshmallows, aka 'Treasure'! Upon reflection, the marshmallows were probably excessive, they started to melt when the melted mars bars were added and  just made the whole slice extra sticky and gooey.


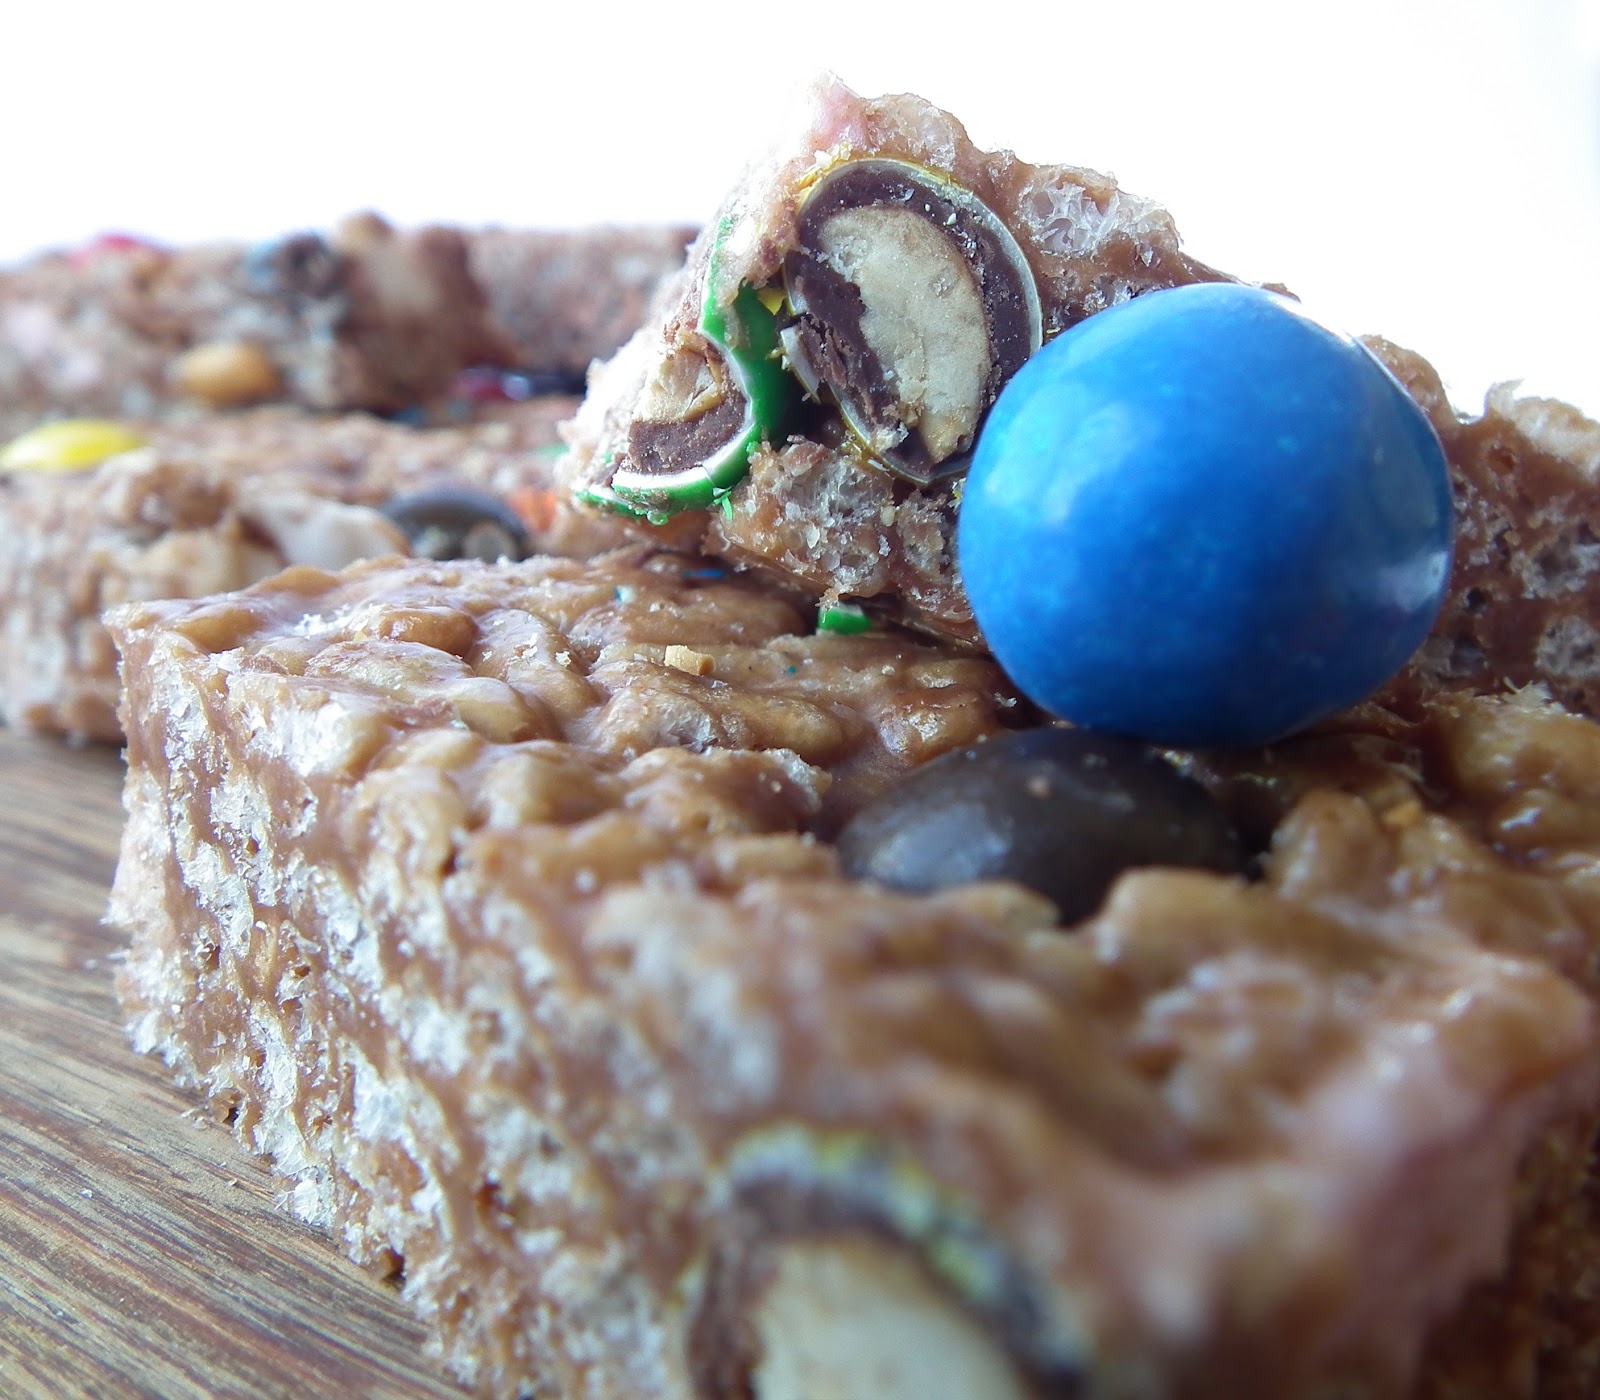
No denying it, this slice is wicked rich, but for the effort-to-result ratio it's definitely a winner. Not really a last minute recipe though, unless you store mass amounts of mars bars and MnM's in your pantry, you'll have to head to the shop for ingredients.


Mars Bar 'Treasure' Slice


What you will need

12 fun size mars bars, chopped roughly
50g butter
1 tbsp golden syrup
3 cups Rice Bubbles
1 cup Peanut MnM's
1 cup marshmallows, chopped roughly

What you will need to do

Line a slice tin with baking paper. Place Rice Bubbles, MnM's and marshmallows in a large mixing bowl and set aside. In a small saucepan over low heat melt mars bars, butter and golden syrup. Stir until everything is melted and mixture is smooth. Pour mixture into bowl with Rice Bubbles and stir until combined. Pour mixture into prepared tin and spread evenly. Press down with the back of a spoon to compress. Place into fridge for at least an hour to set.


Wednesday, September 26, 2012

Double Choc-Chip Cookies


Choc-chip cookies are the best. Double choc-chip cookies are even BETTER. These are the perfect cookie to accompany a cuppa after a long day. I had some left over choc-chips which I melted and dipped some of the cookies into, best idea ever!


I rate Mrs Fields cookies as the most delicious I've ever had, followed by Subway cookies (cooked soft of course). These cookies are more dry and aren't chewy like the previously mentioned cookies, but they are still delicious. They have a crumbly texture and aren't overly sweet, but I find that just makes the choc-chips stand out a lot more.


I have come across many different recipes for choc-chip cookies but when I was growing up my favourite recipe was from the Women's Weekly Biscuit Cookbook. This recipe is from the CadburyKitchen.com.au, adapted ever so slightly by yours truly. Ok I didn't actually adapt the ingredients however I changed the process from placing spoonfuls of mixture onto trays to rolling out the dough and using cookie cutters to cut them out. I like that you get a more uniform shape in the cookies this way.


 Double Choc-Chip Cookies


What you need


125g butter
1/3 cup caster sugar
1/2 cup brown sugar
1 egg
1tsp vanilla essence
1 1/2 cup self raising flour
1/2 cup cocoa
1 cup white choc-chips
1/2 cup white choc-chips extra

What you need to do


Preheat oven to 160*C. Cream butter and sugars in a bowl until light and fluffy. Add egg and vanilla and beat until well combined. Sift in flour and cocoa. Add choc-chips and mix until combined.

Lightly flour your work bench and place dough on it. Lightly flour the dough and roll out to about 2cm thick. If the dough is sticky just add more flour. Using a cookie cutter, cut out as many cookies as you can and place them on baking trays lined with baking paper. With the scraps of dough, mould together and roll out again to cut out more cookies. Repeat this process until there is no more dough left.

Bake cookies for approximately 12-16 minutes. Take out of oven and leave to cool on the tray. Melt the  extra choc-chips in the microwave until smooth. Dip cookies one at a time into the white chocolate to cover half the cookie. Place on a tray lined with baking paper and put into the fridge to set.


Sunday, September 23, 2012

Beef and Mushroom Pies


This is just a quickie. I didn't really want to post savoury recipes on this blog, but I made these and they turned out divine, I just had to share. The recipe is from Taste.com.au so I won't bother repeating it on here.


I had a bit of drama making these in that I bought a brand new casserole dish to cook the filling in only to have it explode on the stove top before I even started... Probably shouldn't buy cheap cookware from Kmart anymore. In the end I did the stove top parts in a saucepan and transferred it to a baking dish for its time in the oven. 


The only adjustments I made was to make shortcrust pastry bottoms for the pies. I used frozen pastry as I am not too confident in making my own just yet (and lets face it I was feeling lazy). Also my filling turned out a bit runny so I used more butter and flour and thickened it up.


I made the filling a day in advance so that it would be cool when I filled the bases. I blind baked the bases first then added the mixture and puff pastry tops for the final bake. The mixture is nice and chunky but still very tender, I prefer this to the mince-like filling you get in cheap frozen pies.


I made several different sizes just to experiment but I personally loved the tiny party pies the best. I still have filling and pastry left over so I will probably make some more during the week, they are pretty quick to whip up once the filling has been made. I might even try some with mash potato on top!


Saturday, September 22, 2012

Sticky Glazed Cinnamon Scrolls


Being an apprentice baker I thought it was about time I made something from a dough! Immediately I thought of warm delicious sticky glazed cinnamon scrolls. Straight from the oven these make the perfect afternoon tea snack.


Making dough can be tricky business, but as long as you mix it until its soft and leave it to rest you should be right. Using a bench mixer with a dough hook is the best way to go. If you don't have one, you are probably better off kneading the dough by hand.


Sticky Glazed Cinnamon Scrolls


What you need

300g plain flour
3g salt
30g sugar
20ml oil
20g yeast
150ml water
10g butter, melted
¼ cup cinnamon
¼ cup sugar
½ cup icing sugar
1tbsp hot water

What you need to do


Place flour, salt, sugar, oil and yeast into a mixing bowl. Add the water and using a dough hook mix on slow for a minute or until ingredients are just combined. Increase the speed and mix for about 5 minutes. Mixing time will vary so after the 5 minutes check your dough, it should be soft and pliable without being sticky. When you are happy with the consistency remove the dough and roll into a ball. Place back into the mixing bowl and cover with plastic. Leave to sit until dough doubles in size.

Punch down the dough in the bowl and place on a floured surface. Using a rolling pin roll the dough into a rectangle shape approximately .5-1cm thick. Brush the melted butter onto the dough. Sprinkle the cinnamon and sugar evenly over the dough. Roll the dough tightly from the long side to form a log shape. Pinch the seam so the dough does not unwrap. Cut the roll into approximately 4cm thick pieces. Turn the pieces on their side and squash down with your hand. Place pieces on a baking tray lined with baking paper.


Set the tray in a warm place and cover with a tea towel for approximately 30minutes. The dough needs to prove and increase in size. Preheat the oven to 200*C. Bake for 15minutes or until golden on top. Remove from oven and place on cooling rack.

Make up the icing glaze by mixing the icing sugar and hot water together until smooth. Spoon icing over scrolls. Serve warm.


Sunday, September 16, 2012

Banoffee Pie


In my opinion, the best fruit and sweet combination ever goes to banana and caramel! It wins over strawberries and chocolate, peaches and cream and fruit salad and ice cream every time. There is just something amazing about when that sweet gooey caramel blends with the smooth banana, I don't know how or why but it is just pure magic in my mouth.


I decided to make these delicious Banoffee Pies after seeing the recipe on Taste.com as the recipe of the day. It looked way too good to pass up so this weekend was to be Banoffee weekend! Instead of making one large pie, I made four small ones, only for the fact that I don't own a large pie tin. They were perfectly sized for one hungry person. 


In hindsight I would put more caramel and more banana into the pies, or just less crust and cream. The ratio was not quite right for my liking, but in saying that they were still super delicious! The addition of the chocolate bars on top just add another layer of flavour and texture to the pies and really top it off.


Banoffee Pie

(shamelessly stolen from taste.com)

What you will need

  • 1 packet milk arrowroot biscuits
  • 125g butter, melted
  • 1 tin caramel top n fill
  • 1 banana
  • 300ml pure cream
  • 1 flake bar
  • 1 picnic bar
  • 1 boost bar

What you will need to do

  • Crush the biscuits in a food processor and then mix in a bowl with the melted butter. Divide mixture between 4 small pie tins. Press the mixture into the sides and bottom of tins to create the crust and leave in fridge to set for an hour.
  • Empty the tin of caramel into a bowl and stir until smooth. Divide the caramel between the 4 pies and smooth out. Cut the banana into slices and arrange on top of the caramel. 
  • Whip the cream until soft peaks form. Spoon or pipe on top of the pies.
  • Roughly chop all the chocolate bars and sprinkle on top of the cream. Put pies in fridge for an hour to set.


Tuesday, September 11, 2012

Mississippi Mud Cake


Father's day was a couple of weeks ago now, but I made this cake for my Dad when my parents came and visited. It is a Mississippi Mud Cake (the BEST chocolate mud cake EVER) with chocolate ganache and white chocolate decorations. I've been meaning to practice making decorations with chocolate and as you can see, more practice is still needed!


Mississippi Mud Cake is so rich and beautiful, the depth of flavour is amazing. My theory is this, when you want to make something chocolate you add cocoa or chocolate, if you want it to be richer you add coffee, if you want it to be extra intense and deeply delicious you add rum or whisky. This cake has chocolate, coffee AND rum = rich, intense and deeply delicious chocolate!


For Mississippi Mud Cake 

Taken from Taste.com

What you will need


  • 250g butter
  • 200g dark chocolate
  • 250ml fresh brewed coffee
  • 430g caster sugar
  • 60ml rum
  • 300g plain flour
  • 2tsp baking powder
  • 150g milk chocolate
  • 30lml cream
  • melted white chocolate for decoration

What you will need to do


  • Preheat oven to 160*C and grease or line a large spring form cake tin.
  • Place butter, chocolate, sugar and coffee in a saucepan over low heat until chocolate has melted. Remove from heat and set aside to cool slightly.
  • Add rum and egg to chocolate mixture and whisk immediately until well combined. Add flour and baking powder and whisk until all lumps are removed.
  • Pour mixture into prepared tin and cook for 1 1/4 hours or until cooked through. To tell if the cake is cooked, when you insert a skewer into the middle, crumbs should cling to the skewer. Remove from oven and cool in tin. When it is cool turn out onto wire rack.
  • To make the ganache, boil the cream and then pour it over the milk chocolate in a bowl and mix until smooth. This is a fairly thick ganache, so it was a bit hard to spread, but I found if I poured it onto the middle of the cake, it spread itself out and I just had to help it around the edges. Oh and there was a lot that cascaded off the cake too! 
  • For the chocolate decoration, I experimented with smoothing out the melted chocolate onto strips of baking paper and putting in the fridge to set. I tried adding texture to some by drizzling more chocolate onto some of the strips and added some silver cachous for a bit of sparkle. 
  • I also did some on smaller strips of paper and then when they were starting to set I curled them inside a cardboard tube and put them in the fridge to set hard. 
  • Other things I tried were cooling a thin slab of chocolate and then scraping at it with a metal scraper to get some shavings. 
  • I also added some maltesers for some contrast on the top of the cake :)


Tuesday, September 4, 2012

Triple Choc Mini Muffins


It was midweek and I had promised to bring in something special to work and I had planned to make macarons. I decided to try a new macaron recipe and would you believe it, they failed massively! So in a last minute panic I did a quick survey of the pantry and found chocolate melts, SCORE! Muffins aren't usually the first thing that comes to mind when I have chocolate to work with but I was feeling inspired and so triple choc mini muffins it was.


I've never had much success with muffins turning out nice and looking professional, but these babies were pretty perfect. I found a great recipe at food.com and then tweaked it to suit what ingredients I had in my pantry. Originally I was going to leave them plain on top but had some left over white chocolate so put a bit on each, I'm glad I did, they look much better.


For the Triple Choc Mini Muffins


What you will need


  • 2 eggs
  • 1/4 cup oil
  • 1/4 cup melted butter
  • 1 cup milk
  • 1 tsp vanilla
  • 1 3/4 cups self raising flour
  • 1/2 cup sugar
  • 1/4 cup cocoa
  • 1/2 tsp salt
  • 1/2 cup milk chocolate melts, chopped
  • 1/2 cup white chocolate melts, chopped
  • Extra white chocolate, melted


What you will need to do


  • Preheat oven to 200*C and line up muffin cases on a baking tray.
  • In a bowl mix together eggs, oil, butter, milk and vanilla.
  • Add flour, sugar, cocoa, salt and chocolate melts to the bowl.
  • Mix together using a wooden spoon until all ingredients are just combined.
  • Spoon mixture into muffin cases, filling to just over 2/3 of the muffin case.
  • Bake in the preheated oven for about 15 minutes (time may vary depending on your oven).
  • Remove from oven and place muffins on a wire rack to cool.
  • Once cool, place a teaspoon of melted white chocolate onto each muffin.