Showing posts with label slice. Show all posts

Wednesday, October 30, 2013

Nanaimo Slice


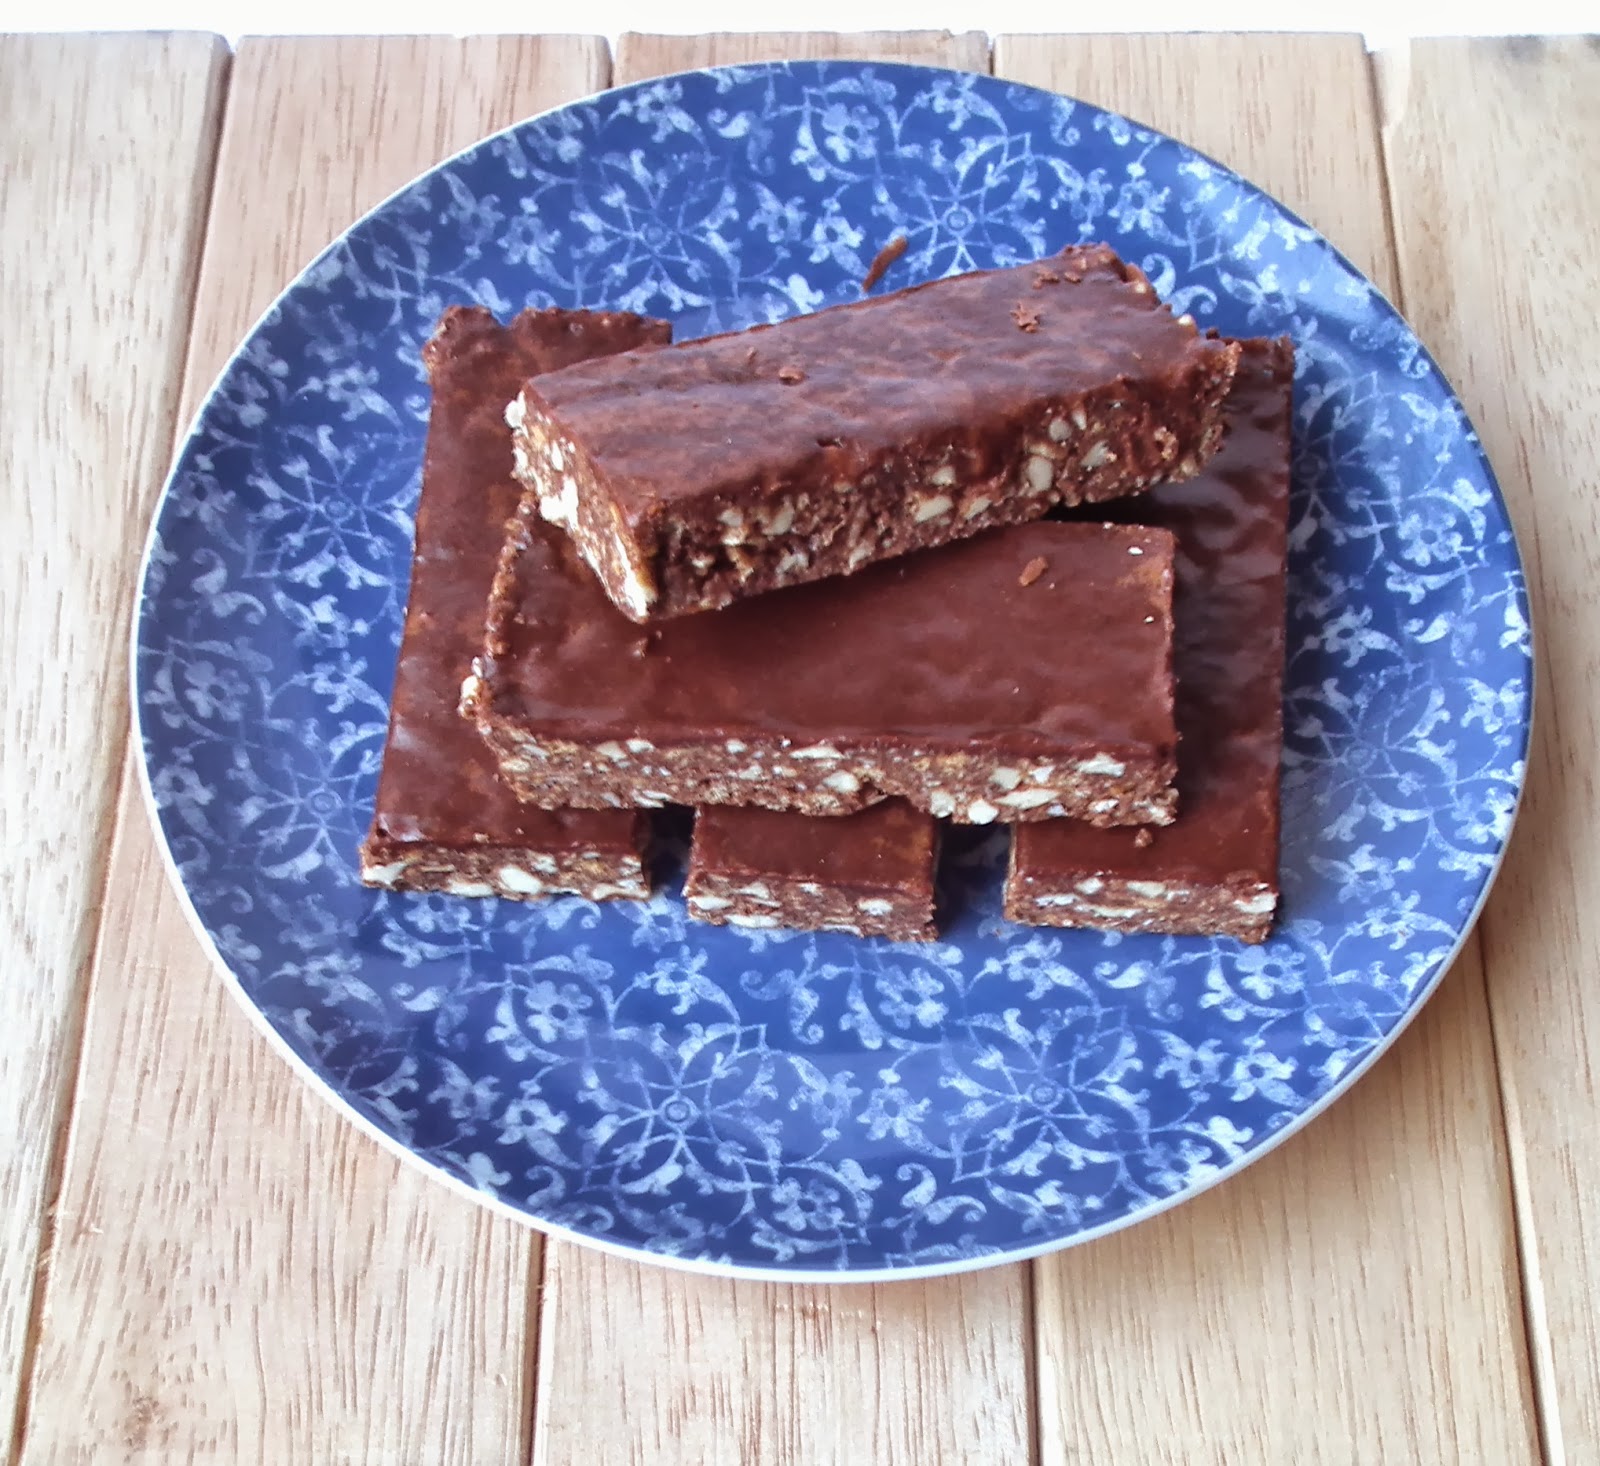
I have been wanting to make this slice for some time now, ever since I tasted it at a local cafe. It is a canadian treat and I had never even heard about it until recently. This no-bake slice is made up of three layers. The first is a chocolatey, nutty, coconut, biscuit crumb base not dissimilar to chocolate slice or a cheesecake base. The middle layer is a custard flavoured buttercream filling and the final layer is a chocolate ganache. 


Richness overload! It is very sweet and indulgent. I probably could have halved the filling in the middle to make it less of a heart-attack-inducing treat. So I ticked this off my bucket list of baked goods (well technically no-bake) and put it on my "stuff to try for realsies list". Now that I have made them myself, I look forward to trying these treats IN Nanaimo, Canada...one day.


Nanaimo Slice

Adapted from I Wash You Dry

What you will need


For the base
1/2 cup butter, room temperature
5 tbsp cocoa powder
1/2 cup sugar
1 tsp vanilla
1 egg, lightly beaten
1 1/2 cups plain biscuits processed to crumbs (you can use gluten free biscuits)
1/2 cup chopped walnuts
1 cup desiccated coconut

For the filling
1/2 cup butter, room temperature
2 tbs custard powder
3 tbsp cream
2 cups icing sugar

For the topping
115g milk or dark chocolate
3 tbsp butter
2 tbsp cream

What you will need to do


Prepare a slice tin by lining it with baking paper and set aside. Set up a  heatproof bowl over a saucepan of simmering water making sure not to let the bowl touch the water. Place the butter, cocoa, sugar and vanilla in the bowl and whisk until melted and sugar is dissolved. Remove the bowl from the saucepan and quickly add the egg and whisk until combined. Return the bowl to above the saucepan and stir cooking for another 2 minutes. Remove from heat and add the crushed biscuits, walnuts and coconut. Mix until all combined then press into the prepared tin. Place in the fridge to set.

To make the filling, beat the butter, custard powder and cream in a bowl until light and fluffy. Gradually add the icing sugar until light and fluffy and sugar has dissolved. Spread out over the base and return to the fridge.

To make the topping, place the chocolate butter and cream in a heatproof bowl and place over the saucepan of simmering water just like for the base. Stir until melted and smooth. Remove bowl from the saucepan and leave to cool for about 10 minutes. Pour chocolate mixture over the top of the slice and spread out. Return to the fridge until the chocolate has set. Remove from fridge and slice into pieces.


Saturday, September 28, 2013

Hedgehog Slice


My first encounter with Hedgehog slice was through a friend at school whose mum used to make it for her school lunch. I tried it one day and absolutely loved it! It was probably the first time I had asked someone for their recipe. Her slice was a bit different to this one, it wasn't chocolate and I think it had almonds in it and a layer of chocolate over the top. I can't actually remember if I ended up making her version even after getting the recipe, but I just recently started to think about it again.

I had a left over packet of biscuits from another baking session and thought I should give it a go. I had some cashews on hand and thought they would be a nice addition and they really were! They make it taste a little more sophisticated. I would have liked to make a pure chocolate layer over this slice but I was making this with things I already had in the pantry and so I just made a quick chocolate glaze icing.


Hedgehog Slice

Adapted from KidSpot

What you will need


1 packet plain biscuits (I used Malt biscuits)
1 cup cashews
150g butter
150g sugar
1 egg
1/4 cup cocoa
1/2 cup coconut
1 tsp vanilla

For the icing
1/2 cup icing sugar
1 tsp butter
1 tbsp cocoa
Water


What you will need to do


Prepare a slice tin by lining it with baking paper. Place the butter and sugar in a small saucepan and stir over low heat until the butter has melted. Set aside to cool.

Crush the biscuits and cashews in a food processor. Try to leave some larger chunks. Place in a bowl and add cocoa and coconut. Stir to combine.

Add egg and vanilla to butter mix and stir in quickly. (Note - if your mixture is still hot the egg will cook and not mix in, if this happens, strain the mixture to remove and bits of cooked egg.) Add to the biscuit mixture and stir until well combined. Place mixture into prepared tin, spread out evenly and press down. Place in the fridge to set, may take a couple of hours.

To make the icing, sift the icing sugar and cocoa in a small bowl, add the butter and mix to combine. Slowly add water to reach a smooth and spreadable consistency. Spread over the top of the slice and return to fridge to set.


Sunday, October 21, 2012

Trifecta Chocolate Cheesecake Slice


I've never made cheesecake using condensed milk. Some of you are probably thinking 'WAHHH??' others are probably like 'yeah so?'. Well I wanted to know what I was missing out on, so this weekend I made a white chocolate cheesecake on a milk chocolate filling on a dark chocolate base, the trifecta of chocolates!

I wasn't completely overwhelmed by the result of the condensed milk cheesecake, i've made better, but it still turned out nice and tasted great. It was a bit softer and runnier than other cheesecakes i've made which can be a bit frustrating when getting it out of the tin, but hey it's still delicious!


I altered a recipe for Rum n Raisin slice from my Nestle cookbook for the base and chocolate layer and a recipe for cookies and cream cheesecake for the cheesecake layer. The white chocolate cheesecake layer is so versatile you can add just about anything to it to create a completely new cheesecake. 


Trifecta Chocolate Cheesecake Slice


What you will need

For the base
1/2 cup plain flour
1 tbsp cocoa
1/4 cup brown sugar
1/4 cup desicated coconut
115g butter, melted
1/2 cup dark choc chips

For the chocolate filling
3/4 cup milk choc melts
115ml thickened cream
1 egg, lightly beaten

For the white chocolate cheesecake
1 tsp gelatine
2 tbsp hot water
190g cream cheese
95ml condensed milk
150ml thickened cream
1/2 cup white chocolate, melted

Extra choc-chips, milk, dark and white

What you will need to do

Pre heat oven to 180*C. Line a loaf tin with baking paper. For the base, place all ingredients into a bowl and mix until combined. Press mixture into prepared loaf tin and bake in oven for 15 minutes or until browned. Leave out to cool.


For the chocolate filling, place chocolate and cream in a bowl. Melt over pan of simmering water until smooth. Put aside to cool slightly. Mix in egg then pour onto base. Bake for a further 20 mins or until set. Take out and cool.

For the white chocolate cheesecake, place gelatin and hot water in a small bowl and mix until dissolved. In a separate bowl beat the cream cheese and condensed milk until smooth. Add cream, gelatin mix, melted white chocolate and beat until combined. Pour on top of chocolate mix. Sprinkle extra choc-chips on top and put into fridge to set.


Sunday, October 7, 2012

Chocolate Brownies


I used to make brownies a lot. I mean A LOT! Every time I went to a gathering I would take a plate of brownies and they would disappear instantly. I had a fail proof recipe that was not only quick and easy, but also economical. It didn't use any chocolate only cocoa powder so you were bound to have the ingredients on hand.


The only issue I had with this recipe was that it didn't exactly tick all the boxes for the perfect brownie. My guidelines for a great brownie include:
  • Crispy thin crust on the top
  • Dense middle
My brownies were fairly dense, but they were more cake like and didn't have a crust :(. It will always be my go to recipe though for last minute brownies when I have no chocolate :).


I am always searching for the perfect brownie recipe...and I think I found it! I tried a recipe from the Nestle cookbook but it wasn't quite right. They did taste a lot nicer after I froze them though, a tip I picked up from David Lebovitz. But then I tried a recipe I found on this wonderful blog 'I eat therefore I am' and what do you know, pretty awesome brownies!


I tried two variations, one with milk and white choc-chips and another with cookie dough (as seen on Bakerella). My choc-chips sunk to the bottom :( I think I should have added them at the end once the mixture was already in the pan. The cookie dough brownies turned out pretty spot on.


Chocolate Brownies

Adapted from I eat therefore I am

What you will need

300g dark chocolate
125g unsalted butter
3 large eggs
1 cup brown sugar
1 tsp coffee powder dissolved in 1 tbsp hot water
1/2 cup plain flour sifted

For choc-chip variation
1/2 cup white choc-chips
1/2 cup milk choc-chips

For cookie dough variation
1 packet cookie dough mix, made up

What you will need to do

Preheat oven to 180*C. Line a baking tin with baking paper (I used a loaf tin and a small round cake tin and found the cake tin worked better). In a small saucepan over low heat, melt the chocolate and butter. Put aside to cool slightly. In a large bowl, beat the eggs and sugar until thick and creamy. Fold in coffee, flour and chocolate mixture. Pour mixture into pan. 

For choc-chip variation, sprinkle white and milk choc-chips over mixture and swirl through once gently with a knife.

For cookie dough variation, drop spoonfuls of cookie dough over mixture and press down into mixture gently.


Cook for approximately 30 -35 minutes. Brownies should still be gooey in the middle when you take them out of the oven. Leave to cool in the tin until room temperature. I put mine in the fridge for an hour before I cut it but it isn't completely necessary.

Saturday, September 29, 2012

Mars Bar 'Treasure' Slice


Some of my fondest childhood memories involve cooking with my mum. I remember having so much fun being able to create something delicious for everyone to eat (and of course getting to lick the bowl at the end)! I find it really sad that there are people out there that missed out on this experience as a child :(


There are so many child-friendly recipes out there that are quick, easy and delicious! The king of kids recipes has got to be Mars Bar Slice. Next to chocolate crackles and honey joys, it is the greatest cereal-based recipe around. I re-discovered my inner child whilst planning this recipe and decided it needed more FUN. So I added peanut MnM's and marshmallows, aka 'Treasure'! Upon reflection, the marshmallows were probably excessive, they started to melt when the melted mars bars were added and  just made the whole slice extra sticky and gooey.


No denying it, this slice is wicked rich, but for the effort-to-result ratio it's definitely a winner. Not really a last minute recipe though, unless you store mass amounts of mars bars and MnM's in your pantry, you'll have to head to the shop for ingredients.


Mars Bar 'Treasure' Slice


What you will need

12 fun size mars bars, chopped roughly
50g butter
1 tbsp golden syrup
3 cups Rice Bubbles
1 cup Peanut MnM's
1 cup marshmallows, chopped roughly

What you will need to do

Line a slice tin with baking paper. Place Rice Bubbles, MnM's and marshmallows in a large mixing bowl and set aside. In a small saucepan over low heat melt mars bars, butter and golden syrup. Stir until everything is melted and mixture is smooth. Pour mixture into bowl with Rice Bubbles and stir until combined. Pour mixture into prepared tin and spread evenly. Press down with the back of a spoon to compress. Place into fridge for at least an hour to set.