Showing posts with label banana. Show all posts

Wednesday, November 13, 2013

Choc Chip Banana Bread


I love a nice slice of banana bread, toasted with a bit of butter. But you know what is even better? Banana bread with a sprinkling of choc chips! Most people I mention this recipe to react with 'That's unusual!', but I grew up making choc chip banana muffins so this combination seems pretty common.


This recipe is a great way to use up old bananas and is so easy to make. You pretty much just mix the wet and dry ingredients together then bake. It would make a great  recipe to introduce children to baking as you can do it all by hand and they will only need help with the oven.


I decided to make half of the flour wholemeal to try and add a bit of 'health' factor to the recipe but I should have upped the milk or butter a bit as I feel it lost some of the moisture (wholemeal absorbs more liquid than white) so after being in the fridge for a few days it did taste a bit dry. Feel free to experiment by increasing the liquid a bit, if you do let me know how it goes! Next time I make it I know I will tinker with it a bit more.


Choc Chip Banana Bread

Adapted from Australia's Sweet Baking Favourites by Nestle

What you will need


1 cup plain white flour
1 cup plain wholemeal flour
1/3 cup brown sugar
1 bag choc chips
2 eggs
3/4 cup milk
2 large mashed bananas
50g melted butter

What you will need to do


Preheat the oven to 180*C and prepare a loaf tin by spraying the inside with cooking oil. In a bowl, combine the flours, sugar and choc chips (reserve a handful to sprinkle over the top). In a separate bowl combine the eggs, milk, bananas and butter. Add to the dry ingredients and stir until just combined. Pour into prepared tin and sprinkle the reserved choc chips over the top. Bake for approximately 40 mins or until the centre is fully cooked (check with skewer or cake tester).

Remove from oven and let cool in the tin for a few minutes before turning out on to wire to cool completely.


Saturday, July 6, 2013

Hummingbird Cake


Ahh Hummingbird Cake, the beautiful combination of pineapple and banana covered in cream cheese icing! I don't think I have ever made one before now but my mother has made it for my family more than once. A little out of the ordinary for me but I wanted to try out some icing techniques and thought something a little exotic would do nicely.

I found this icing technique on Pinterest and just had to give it a go. Although it uses a fair bit of icing, it is very simple to do and the result is quite impressive.


Hummingbird Cake

Recipe adapted from Leela Bean Bakes


What you will need


2 1/2 cups flour
2 tsp baking soda
1 tsp salt
1 tsp ground cinnamon
3/4 cup sugar
1/2 cup brown sugar
3/4 cup Canola oil
4 large eggs
1 1/2 cup mashed bananas, about 3
225g crushed pineapple
1 cup finely chopped pecans
2 tsp vanilla

Icing
Adapted from OurBestBites
750g cream cheese
3/4 cup butter
2 cups icing sugar, sifted
2tsp vanilla 
Toasted coconut


What you will need to do


Preheat your oven to 180*C. Line two cake tins the same size and set them aside.

In a bowl, whisk the flour, baking soda, salt, and cinnamon together. In a separate bowl, combine the sugars and eggs and whisk together. Next, add the oil and whisk until uniform in consistency. Then whisk in the mashed bananas and crushed pineapples, followed by the vanilla extract.

Add the dry ingredients into the egg mixture and fold together. Then fold the pecans into the batter. Do not over mix.

Divide the batter into your prepared pans and bake for about 30 minutes or until cooked through. Let your cakes cool slightly in the tin then turn out onto a cooling wire.

To make the icing, beat together the cream cheese, butter and vanilla until light and fluffy. Add the icing sugar and whisk until smooth.

When the cakes have cooled completely, put a layer of icing on top of one and top with the second cake. Next do a crumb coat of icing all over the cake and put in the fridge.


When the icing has set, bring out the cake.


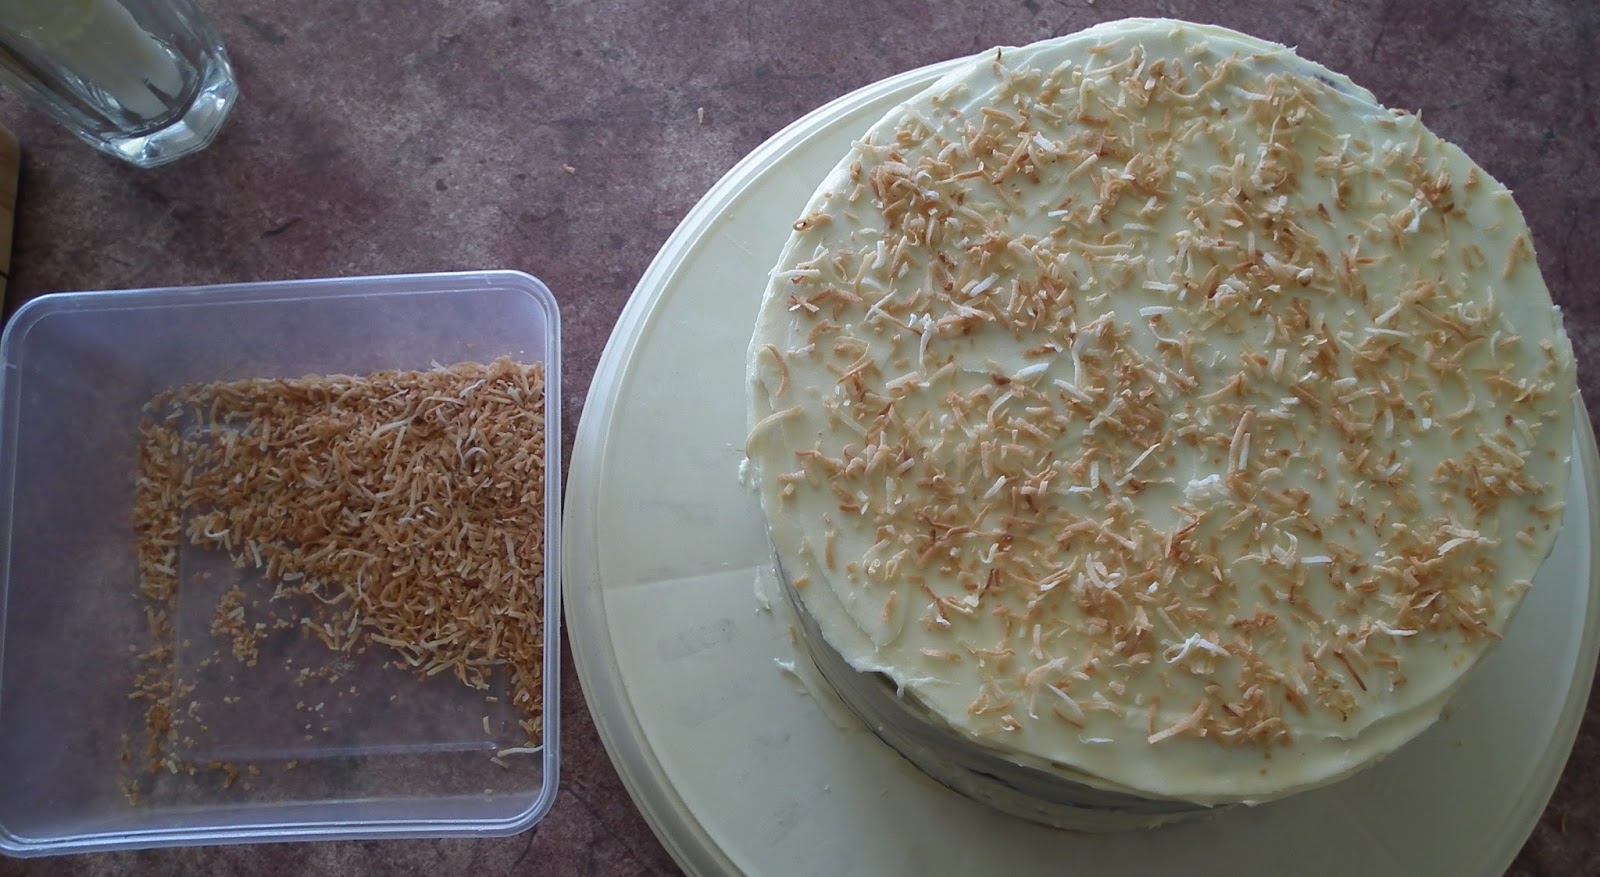
Sprinkle the toasted coconut over the top of the cake.


Place the remaining icing into a piping bag fitted with an inch size round nozzle. Pipe 3 round blobs of icing down one side. 


Using an off set spatula the same size as the blob, press and drag the blob so it goes from thick to thin.
Repeat for each blob and then repeat with another row until you go around the whole cake. Finish off with 8 rounded blobs on the top and garnish each with a pecan.


Saturday, November 24, 2012

Moist and Light Banana Cake


If you like Sara-Lee banana cake, you will LOVE this recipe! When I think of banana cake, I want something light and moist and full of banana flavour, oh and of course cream cheese icing! I am pretty proud of this recipe because I pretty much developed it myself. I used my no chocolate brownie recipe as a base and turned it into a delicious banana cake.


I swear you will not be able to stop at one piece, it is so light you could eat the whole cake before feeling weighed down and sluggish. Cream cheese icing is the perfect match for any banana cake and normally I would make my own from scratch. However I found Philidelphia Cream Cheese Frosting on sale at the supermarket and thought I would give it a go. It tastes exactly the same as the icing I make and because it was on special it turned out cheaper too.


I sometimes think this would make a lovely pudding. If you made it in little ramekins and served it with warm caramel sauce and vanilla ice cream, mmmmmmmm yum! I'll have to give it a go one day :)


NOTE: Using the ripest bananas is best as the flavour is much stronger and creates a better texture in the cake. Also its a great way to use up over ripe bananas that are no longer good for eating. 


Moist and Light Banana Cake


What you will need


3 eggs
1 cup caster sugar
1/2 cup brown sugar
1 tsp vanilla
170g butter, melted
1 cup plain flour
1 tsp baking powder
1 tsp salt
4 ripe bananas, peeled and mashed
1/2 cup walnuts, crushed
Cream Cheese Frosting

What you will need to do


Preheat oven to 180*C. Line a square cake tin with baking paper. Beat eggs and sugars in a bowl until sugars are dissolved. Add vanilla butter, plain flour, baking powder and salt and mix until just combined. Fold in the bananas and walnuts. Pour cake mix into prepared tin. Bake in oven for approximately 30 minutes or until the middle is no longer wobbly. The middle will be very soft to touch and probably won't spring back when it's cooked but as long as it is not wobbly it will be fine. 

Take cake out and cool on wire rack. Once cool, wrap in plastic wrap and place in freezer (the cake is so soft that it is a lot easier to ice when it is frozen firm). When the cake is firm to touch, take out of freezer and ice with cream cheese frosting.


Sunday, November 4, 2012

Banana Pancakes


Mmmm pancake time! Fluffy pancakes are my favourite, there's nothing worse than a flat oily pancake, ew. I had some ripe bananas going to waste on my bench so I knew it was time for a banana recipe. I've never had a reliable fluffy pancake recipe until now. I love buttermilk pancakes but I never have buttermilk on hand when I feel like making them.


Banana Pancakes

(Recipe adjusted from Allrecipes.com)

What you will need


1 cup plain flour
1 tbsp baking powder
1 tbsp brown sugar
1 cup milk
1 tsp vinegar
3 egg yolks
3 egg whites
2 over ripe bananas, peeled and mashed with a fork
Oil and butter for frying


What you will need to do


In a small bowl combine milk and vinegar and set aside. In another bowl combine flour, baking powder and sugar. Add egg yolks, banana and milk mixture and stir until combined. In a separate bowl whisk egg whites until soft peaks form. Fold egg whites into the rest of the mixture. 

Heat a frypan to medium heat and add some oil and butter to cover the base. Using a scoop (or measuring cup in my case) put half a cup of mixture into frypan.


Cook for a few minutes until bubbles start to appear in the pancake. Using a spatula flip the pancake over.


Cook for a few minutes on the other side until brown.


Take out of pan and place on a plate covered in paper towel to absorb any extra oil. Repeat the process until all of the mixture is used. 

I served mine with cream and golden syrup but you can top with any of your favourite pancake toppings.


Sunday, September 16, 2012

Banoffee Pie


In my opinion, the best fruit and sweet combination ever goes to banana and caramel! It wins over strawberries and chocolate, peaches and cream and fruit salad and ice cream every time. There is just something amazing about when that sweet gooey caramel blends with the smooth banana, I don't know how or why but it is just pure magic in my mouth.


I decided to make these delicious Banoffee Pies after seeing the recipe on Taste.com as the recipe of the day. It looked way too good to pass up so this weekend was to be Banoffee weekend! Instead of making one large pie, I made four small ones, only for the fact that I don't own a large pie tin. They were perfectly sized for one hungry person. 


In hindsight I would put more caramel and more banana into the pies, or just less crust and cream. The ratio was not quite right for my liking, but in saying that they were still super delicious! The addition of the chocolate bars on top just add another layer of flavour and texture to the pies and really top it off.


Banoffee Pie

(shamelessly stolen from taste.com)

What you will need

  • 1 packet milk arrowroot biscuits
  • 125g butter, melted
  • 1 tin caramel top n fill
  • 1 banana
  • 300ml pure cream
  • 1 flake bar
  • 1 picnic bar
  • 1 boost bar

What you will need to do

  • Crush the biscuits in a food processor and then mix in a bowl with the melted butter. Divide mixture between 4 small pie tins. Press the mixture into the sides and bottom of tins to create the crust and leave in fridge to set for an hour.
  • Empty the tin of caramel into a bowl and stir until smooth. Divide the caramel between the 4 pies and smooth out. Cut the banana into slices and arrange on top of the caramel. 
  • Whip the cream until soft peaks form. Spoon or pipe on top of the pies.
  • Roughly chop all the chocolate bars and sprinkle on top of the cream. Put pies in fridge for an hour to set.