Saturday, July 13, 2013

Chocolate Brownies - My New Favourite!


I hadn't cooked with chocolate for a while and I was having withdrawals. I wanted to make something to take to a friends place for a BBQ and thought brownies would be perfect. But I decided to try a new recipe (risky I know) because there was still this certain brownie texture that had alluded me up until now. That dense and almost chewy texture as apposed to super moist cake-like texture. I had a good feeling about this new recipe.


In the past I had always tried to use brownie recipes that use cocoa powder instead of chocolate for convenience reasons but this time I went for the real thing. These brownies are amazing! They are exactly that texture I have been searching for and the nuts just really add to the experience. Topped with chocolate ganache they are to die for and extremely morish. Another great thing is you make it in one saucepan so its not too messy!


It is safe to say that when I open my own bakery, these babies will DEFINITELY be on the menu! I found the recipe floating around on Pinterest and it is a David Lebovitz recipe. I am really starting to like this guys recipes... a lot!


Chocolate Brownies

Adapted from Leite's Culinaria

What you will need


85g butter
225g dark chocolate
3/4 cup sugar
1tsp vanilla
2 eggs
1/4 cup flour
1/2 cup walnuts, chopped
1/2 cup pecans, chopped

200g dark chocolate
100ml cream

What you will need to do


Preheat oven to 175*C and line a square baking tin with baking paper.
In a small saucepan melt the butter and chocolate over low heat. Stir until melted. Take off the heat and add the sugar and vanilla, stir until combined. Beat in eggs one at a time. Add the flour and mix rigorously for a whole minute until it becomes smooth and glossy and pulls away from the side of the pan a bit. Apparently this step is crucial to getting the right texture at the end. Stir in the chopped nuts and pour batter into prepared tin. Bake for 30 minutes or until the centre feels almost set. You do not want to over cook them. Take out of oven and cool in the tin.

To make the ganache. Place the cream and chocolate in a small saucepan and melt over low heat, stirring constantly. Once melted, pour over the top of the brownies still in the tin and leave to set. I put mine in the fridge to set quicker :D.


Saturday, July 6, 2013

Hummingbird Cake


Ahh Hummingbird Cake, the beautiful combination of pineapple and banana covered in cream cheese icing! I don't think I have ever made one before now but my mother has made it for my family more than once. A little out of the ordinary for me but I wanted to try out some icing techniques and thought something a little exotic would do nicely.

I found this icing technique on Pinterest and just had to give it a go. Although it uses a fair bit of icing, it is very simple to do and the result is quite impressive.


Hummingbird Cake

Recipe adapted from Leela Bean Bakes


What you will need


2 1/2 cups flour
2 tsp baking soda
1 tsp salt
1 tsp ground cinnamon
3/4 cup sugar
1/2 cup brown sugar
3/4 cup Canola oil
4 large eggs
1 1/2 cup mashed bananas, about 3
225g crushed pineapple
1 cup finely chopped pecans
2 tsp vanilla

Icing
Adapted from OurBestBites
750g cream cheese
3/4 cup butter
2 cups icing sugar, sifted
2tsp vanilla 
Toasted coconut


What you will need to do


Preheat your oven to 180*C. Line two cake tins the same size and set them aside.

In a bowl, whisk the flour, baking soda, salt, and cinnamon together. In a separate bowl, combine the sugars and eggs and whisk together. Next, add the oil and whisk until uniform in consistency. Then whisk in the mashed bananas and crushed pineapples, followed by the vanilla extract.

Add the dry ingredients into the egg mixture and fold together. Then fold the pecans into the batter. Do not over mix.

Divide the batter into your prepared pans and bake for about 30 minutes or until cooked through. Let your cakes cool slightly in the tin then turn out onto a cooling wire.

To make the icing, beat together the cream cheese, butter and vanilla until light and fluffy. Add the icing sugar and whisk until smooth.

When the cakes have cooled completely, put a layer of icing on top of one and top with the second cake. Next do a crumb coat of icing all over the cake and put in the fridge.


When the icing has set, bring out the cake.


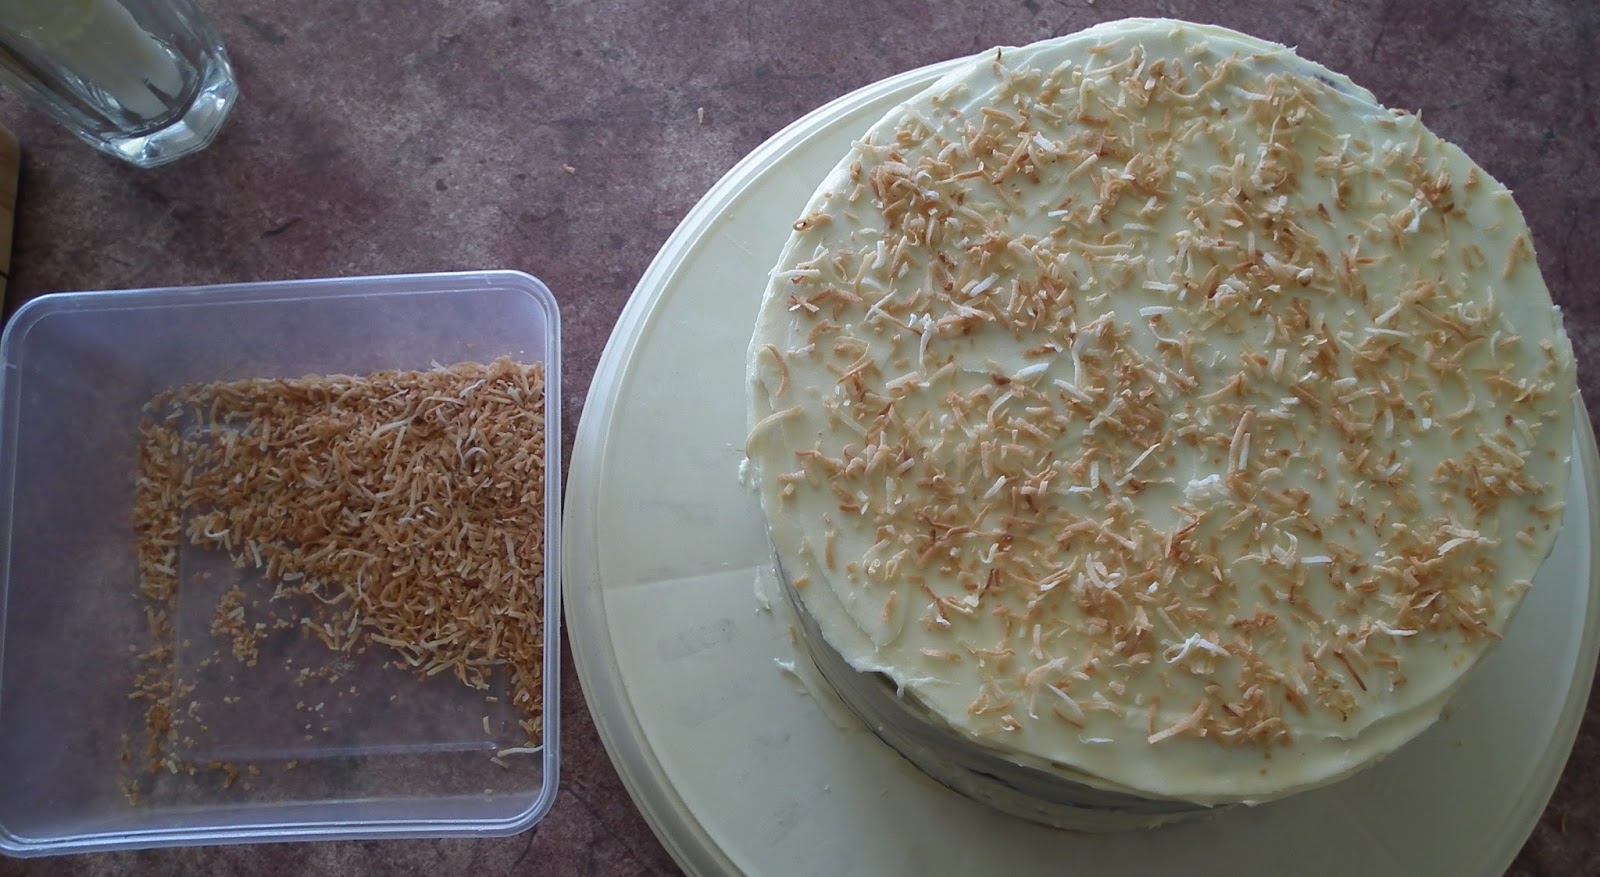
Sprinkle the toasted coconut over the top of the cake.


Place the remaining icing into a piping bag fitted with an inch size round nozzle. Pipe 3 round blobs of icing down one side. 


Using an off set spatula the same size as the blob, press and drag the blob so it goes from thick to thin.
Repeat for each blob and then repeat with another row until you go around the whole cake. Finish off with 8 rounded blobs on the top and garnish each with a pecan.


Wednesday, June 26, 2013

YumNuts! My version of Cronuts


So by now I am sure most of you have heard about the latest craze hitting the shelves of bakeries and patisseries all over the world called the Cronut. Developed by Dominique Ansel in New York, now popping up all over the place under different names, the Cronut is a mix between the croissant and a donut. He even trademarked the name Cronut but that wont stop people from making their own versions, including me!


Now I don't make donuts, deep frying things does not impress me much, and I only made my first croissant just the other week. This was completely new territory for me. Still, the idea intrigued me so I researched a bit. It turns out that a croissant and donut hybrid isn't exactly a new concept. I came across a comment under a Cronut recipe (which was just Pillsbury Cresent rolls cut into donut shapes and deep fried :S) which lead me to the website of James Morton, runner up on Great British Bake Off.


Turns out there are these things called Yum Yums! Normally in the shape of a twisted stick, they are a laminated dough that is deep-fried and glazed, hence croissant and donut hybrid! Now I'm not going to pretend I know the background behind them but the point is they aren't new. So I decided to use the Yum Yum recipe, make them donut shaped and call them YumNuts, done and done.


My verdict is that they are very indulgent, pretty much a donut but with a lighter dough. If I made them again I would try using low protein cake flour to make them a bit more flaky and light, I wouldn't combine the butter until the laminating phase (like how I made the Croissants) and I would rest the dough in between each roll and fold process. I feel these small improvements might make the layers more defined and bring a stronger croissant feel to these mostly donut YumNuts.


Yum Nuts!

Recipe adapted from James Morton's Yum Yums

What you will need


500g flour
2 sachets yeast
5g salt
30g sugar
250g water, a tiny bit warm
1 egg
100g butter

Oil, for frying

Icing
250g icing sugar, sifted
60ml water

Pastry Cream
3 egg yolks
1/4 cup sugar
1/8 cup flour
2 tbsp corn flour
1 1/4 cup milk
1 tsp vanilla

What you will need to do

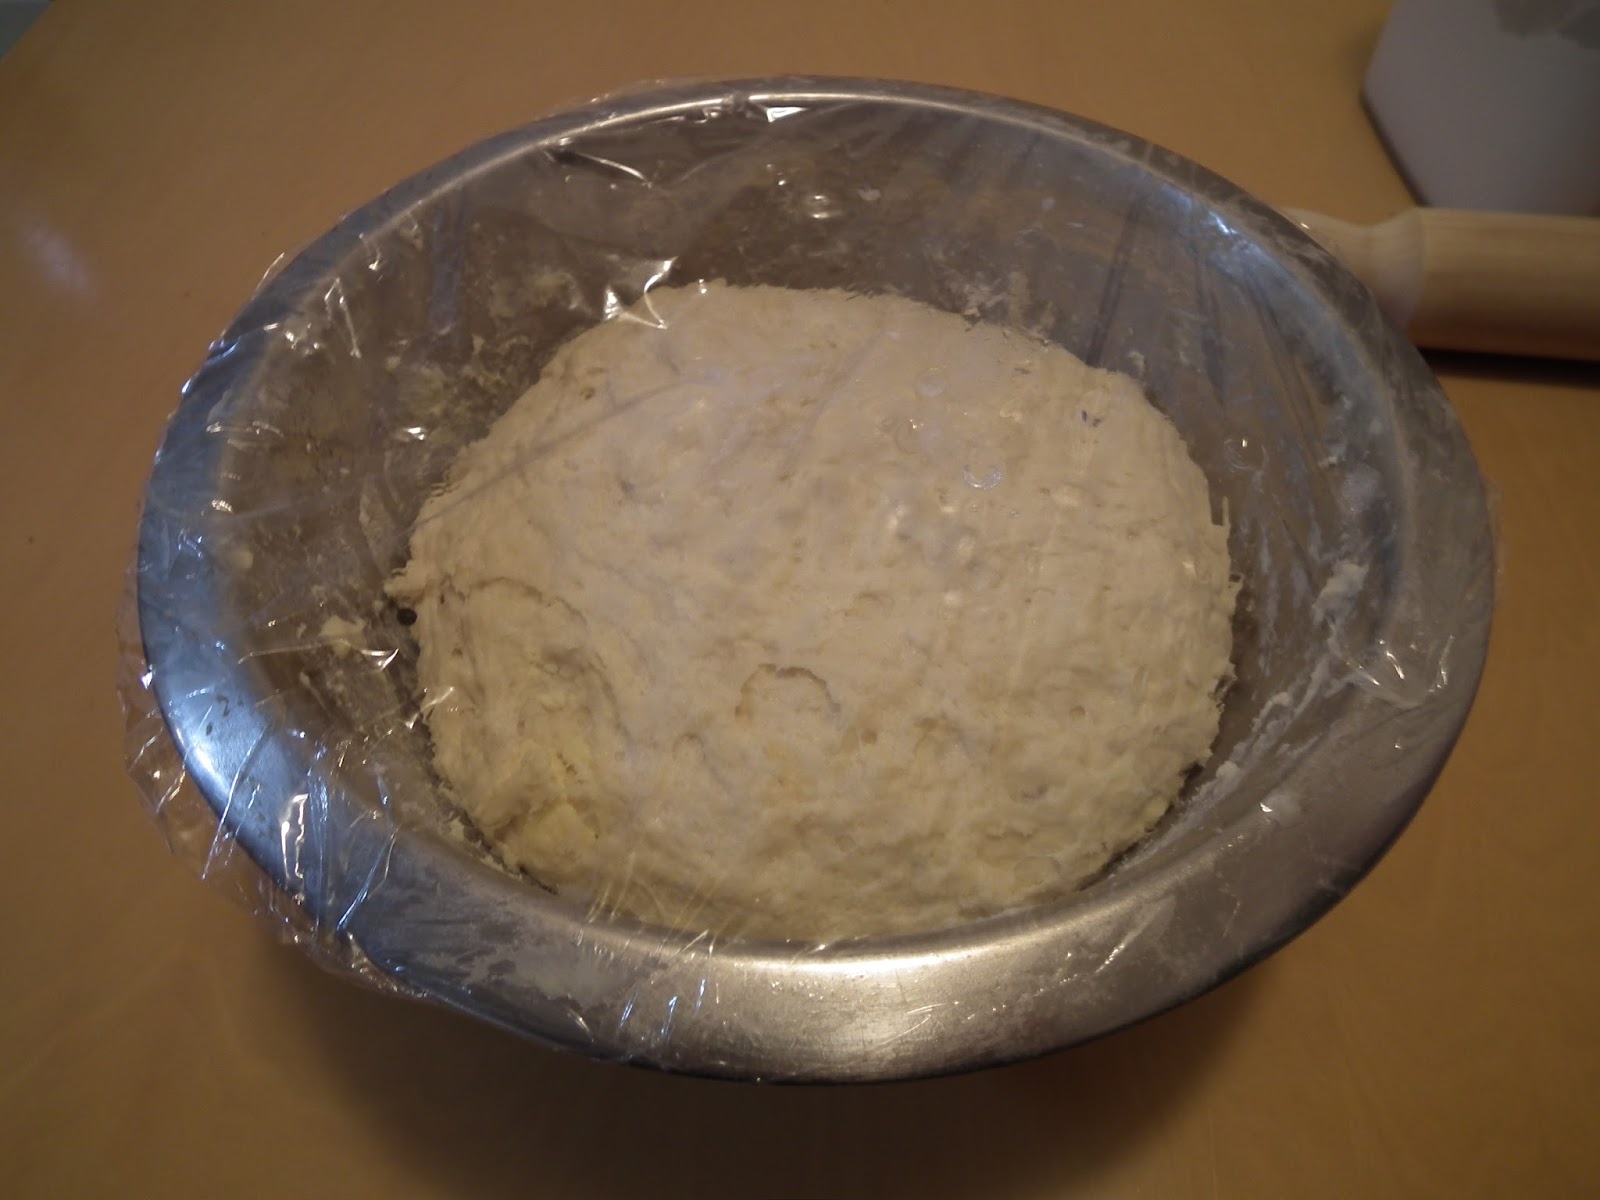
In a bowl mix flour, salt, sugar and yeast. Dice the butter into small pieces and add to the flour. Mix lightly with a spoon (you don't need to combine the butter, it won't). Add the water and egg and mix until all the flour is incorporated, get your hands in there! It may be a wet mess but that is ok. Cover with plastic wrap and leave it in the fridge overnight. If your short on time, leave it to rest at room temperature for at least half an hour.


Once it has rested long enough, put the dough on a floured surface and roll out into a long rectangle. Fold the ends in to the middle and then the whole thing in half like a book.


Repeat this process until all the lumps of butter have been fully incorporated into the dough. It took me about 6 times. Rest the dough in the fridge for up to 2 hours, or at least half an hour.

Once it has rested, place back on the floured bench and roll out to about 2cm thick. Now you can cut out your donut shapes, if you don't have round cutters, improvise. I used an egg ring and the big end of a piping tip to cut out mine.


Place the shapes on a lined baking tray and leave for an hour to double in size.


When they are ready to fry, make up your icing glaze by mixing the icing sugar with water to form a smooth consistency. You can add or use less water to make it however runny you want. Prepare a baking tray with a wire rack over it to place the YumNuts once they are cooked. Heat enough oil in a pan to submerge your YumNuts on low heat. Use a piece of leftover dough to test when it will be ready to fry. You don't want the oil too hot or they will burn and be doughy on the inside. USE EXTREME CAUTION WHEN COOKING WITH HOT OIL! Gently place a few YumNuts into the oil and cook until brown on the bottom then flip them over.


I gave mine a few minutes on each side. Carefully remove from the oil and place on wire rack over baking tray. Brush with glaze and set aside until cool.


I added some decorations to mine in the form of smarties, 100's and 1000's, chopped pecans and chocolate. You can use whatever you like or just leave them with glaze.

To make the pastry cream, warm milk in saucepan over low heat until just starting to steam. Meanwhile mix the eggs, sugar and flours together until smooth. When the milk starts steaming, add half of it to the egg mixture and whisk constantly. Add the egg and milk mixture back to the pan with remaining milk and whisk continuously. Whisk until the mixture becomes thick. Remove from heat and stir in vanilla. Set aside until cool. Place pastry cream into a piping bag fitted with a small round nozzle. Use the nozzle to make a small hole in the side of a YumNut and pipe in some pasy cream. You may need to do a few holes around the YumNut to fill it all.


Monday, June 24, 2013

Choc Chip Cupcakes with Chocolate Ganache and Vanilla Buttercream


So I've been experimenting with cupcakes lately and this is a pretty simple recipe but the icing is a bit different. I wanted to try and create a swirled icing effect and I was pretty happy with how they turned out. I have also just discovered Mini Baking Choc Chips! They are the cutest things, so tiny and delicious. I may have gone a bit overboard with them in this post but i am looking forward to using them in a tiny choc chip cookie recipe one day.


The recipe I used for the cupcakes was the same as the Vanilla Flake Cupcake recipe minus the flakes and plus a half a bag of mini choc chips. I used the same Vanilla Buttercream and Chocolate Ganache as I used to fill the Pistachio Macarons. The swirl effect comes from the way you fill the piping bag. Filling the bag one side with the buttercream and the other with ganache allows you to get a bit of both in every pipe. 


I love that the two toppings have distinctive textures also. The buttercream is light and soft where the ganache is thick and dense so it makes for an interesting bite each time!


Choc Chip Cupcakes with Chocolate Ganache and Vanilla Buttercream


Adapted from The Cupcake Project - Ultimate Vanilla Cupcake


What you will need


1 cup caster sugar
1 3/4 cups cake flour (I used plain flour but replaced two tablespoons with corn flour)
1 1/2 tsp baking powder
1/2 tsp baking soda
1/2 tsp salt
1/4 cup unsalted butter, room temp
2 large eggs
1/3 cup sour cream
1/4 cup oil
1 tbsp vanilla
2/3 cup milk
1 packet mini choc chips

200g chocolate melts
100ml cream

1 cup icing sugar
100g butter
2 tsp vanilla essence


What you will need to do


Preheat oven to 175*C and prepare a muffin tray with cupcake wrappers. In a bowl combine flour, baking powder and soda, salt and sugar. Add butter and mix on a slow speed until the mixture resembles a fine crumb. In a separate bowl whisk eggs, sour cream, oil and vanilla until smooth. Add this mixture to the flour mixture and mix on medium speed until just combined. Slowly add the milk until just combined. Add half the mini choc chips to the batter and fold in.

Fill the cupcake liners half full. Bake for 15-20 minutes or until a toothpick inserted comes out clean. They shouldn't go brown on top so be cautious not to over cook them. When they are done put them on a cooling rack to cool.

To make the ganache, bring the cream to boil then pour over the chocolate in a heat proof bowl. Stir until all the chocolate has melted then set aside to cool down and firm up.

To make the buttercream, beat the butter and icing sugar until pale and creamy. Beat in the vanilla.

To ice the cupcakes, prepare a piping bag fitted with a round tip about 1cm wide. To fill the piping bag, holding it upright put the buttercream on one side of the bag and put ganache on the other side. This way you will get a swirled effect when you pipe. Pipe the icing onto the cupcakes and sprinkle the tops with remaining choc chips.